
:max_bytes(150000):strip_icc():format(webp)/how-to-see-who-viewed-your-tiktok-5271090-e2cb663541b8484a8a2e80ffbdd98db3.jpg)
New How to Convert MP3 to Text Online 3 Easy Ways
How to Convert MP3 to Text Online [3 Easy Ways]
How to Convert MP3 to Text Online [4 Easy Ways]

Shanoon Cox
Mar 27, 2024• Proven solutions
People all over the world use audio and video records. Many people’s lives are made simpler by translating these recordings to text format, which is nothing more than transcription. Let’s start by looking at why people convert mp3 to text.
It is no more difficult to track exact details in an mp3 file collected during a conference, telephone conversation, meeting, or broadcasting. You will have quick access to the files if you use a transcribed text. When you transcribe a recording, you will translate, arrange, and store the data for later reference.
Further, this article will address 4 easy ways that can transcribe mp3 to text, keep reading!
- Method 1: Convert MP3 to Text Online by Media.io
- Method 2: Convert MP3 to Text Online by Veed.io
- Method 3: Convert MP3 to text online by Amberscript
- Method 4: Convert MP3 to text online by Sonix
- Bonus tip: Add text to your video with Wondershare Filmora
Method 2: Convert MP3 to Text Online by Veed.io

Would you like to ease your continuous struggle of concentrating on recordings? Well, then convert your MP3 to a text file and transcribe the speech as your way out. A big thanks to VEED! The online auto transcription tool from VEED is quick, accessible, and clear to use. Veed.io is compatible with Video files, WAVs, OGGs, M4As, which you can transcribe to text with a couple of clicks.
Here are three simple steps to converting an MP3 to text using the handy online mp3 to text converter Veed.io.
Step 1: Launch Veed.io
Start by launching the online converter Veed.io on your browser.

Step 2: Upload your MP3 file
To get started, click on Upload a file to import your MP3 file from your device to the online converter or simply drag and drop the file. You can also choose from the other upload options available such as Dropbox, YouTube link, or record.

Step 3: Convert to text
From the edit menu on the left, go to Subtitles, tap on the Auto Transcribe option, pick your language, and hit Start. You can also choose to add manual subtitles or upload a subtitle file.

Step 4: Download the transcribed file
Once your file is transcribed to text, hit Export and select your required preset from the Preset dropdown. Finally, tap on Export video to save the file to your device.

What are the benefits of using this mp3 to text converter?
At the touch of a button, you can convert audio to text.
- Fast
You can transcribe your audio in a couple of seconds with VEED, avoiding your hours of endless writing.
- Simple
You can change every line and word to ensure that the transcription is just everything you want.
- Adaptable
This audio transcription platform is used to make clear transcripts, descriptions, or individual transcript files.
Method 3: Convert MP3 to text online by Amberscript
Ambertrasncipt is an excellent mp3 to text converter with speech recognition technology. The software allows you to transcribe audio to text automatically in just a few steps. Here’s a quick tutorial on how you can transcribe mp3 to text using Amberscript.
Step 1: Upload a file
Open Amberscript on your browser to get started. Next, click on Choose File to upload your audio file or drag and drop the file on the main interface.

Step 2: Transcribe mp3 to text
For automatic transcription, select Transcription and further choose Automatic under the select service menu. You can also choose to add manual subtitles. Finally, hit Order to start the transcription process.

Step 3: Transfer
After the transcription process is completed, preview and save your transcript. To save the file to your device, hit Export and choose from the available export options such as Text, Subtitles, or audio.

What are the benefits of using this mp3 to text converter?
- Simple
Find essential sections of your text quickly by searching through them.
- SEO-friendly
Use your text to boost your content’s search engine ranking.
- Edit
You can’t change what was said once the audio has been captured. That isn’t a problem with text analysis.
To conduct qualitative research, you’ll need a transcript.
- Research
To conduct qualitative research, you’ll need a transcript.
- Translate
With text, translating your document becomes much more straightforward.
- Quickly
Text is much faster and simpler to operate.
Method 4: Convert MP3 to text online by Sonix
With Sonix you can transcribe, edit, highlight, timestamp, and even translate your transcript in 3 to 4 minutes. Just follow these simple steps and you can convert mp3 to text easily.
Step 1: Sign up for free
First, launch the online tool and sign up for a free account on Sonix or sign in if you have an existing account.

Step 2: Upload your audio file
Drag and drop your MP3 Audio File file (*.MP3) from your PC or import from Google Drive, Dropbox, or YouTube.

Step 3: Convert mp3 to text
Now, select your desired language from the Language dropdown and tap on Transcribe to start the transcription.

Step 4: Edit the transcript
After the transcription process is completed, use the Sonix AudioText Editor to polish your transcript. Simply type in your browser to correct any words.

Step 5: Export
Once all the edits are made, select Export. To save a text version of your MP3 file, choose ‘Text file (.txt)’ from the options list and hit Download.

Bonus tip: Add text to your video with Wondershare Filmora
Adding text to your video is the perfect way to connect with your audience on another level. Whether you want to add an exciting intro, ending credits, or captions to tell your story, Wondershare Filmora lets you do just anything. Filmora is a handy and professional video editor that comes loaded with creative editing tools. It offers a variety of text templates with fancy fonts and stunning transitions you can choose from.


What’s more? Using Filmora is very easy, thanks to its intuitive interface. To inspire you, here is a quick guide on how you can add fancy texts to enhance your video.
Step 1: Import a video to the Filmora timeline
Open the Wondershare Filmora tool and hit New Project. On the main screen, open the Import dropdown and select Import media files to import your video. Now drag the video onto the timeline to start editing.

Step 2: Choose a text template
On the Edit menu at the top, go to Titles. From the available presets, you can choose from the cover opener, ending credits, subtitles and lower thirds. Double click a template to preview it, and select the one you like. Then drag the selected template to the timeline.

Step 3: Edit your text
To edit your custom text, double-click the Text thumbnail on the timeline. Now on the text editor panel, customize your font, color, alignment, and size of your text. Or you can choose a built in text style from the text style library. Further, go to the Animation tab, to add special animations to your text.
Now you can either click ok to save the edits or choose the Advanced option to enter the advanced editing panel. Here you can customize the text with elements, shapes, text boxes, and shadows. You can also adjust the duration of your text as you like.

Step 4: Export your video with titles
Once all the edits are completed, tap the Export button on the top right corner. Then give your video a name, select where you want to save it, choose a resolution, and again hit Export.

CONCLUSION
Converting audio to text is not anymore a menial task and does not require human transcribers sitting all day long to listen to audio files. The automatic online transcription apps and platforms allow anyone to convert mp3 to text extremely fast and efficiently. You can transcribe any audio file just like a native speaker with 99 percent accuracy without knowing much about the process.
This strategy can benefit students, professionals, and others who want to consume information but find it hard to concentrate or remember things.
Shanoon Cox
Shanoon Cox is a writer and a lover of all things video.
Follow @Shanoon Cox
Shanoon Cox
Mar 27, 2024• Proven solutions
People all over the world use audio and video records. Many people’s lives are made simpler by translating these recordings to text format, which is nothing more than transcription. Let’s start by looking at why people convert mp3 to text.
It is no more difficult to track exact details in an mp3 file collected during a conference, telephone conversation, meeting, or broadcasting. You will have quick access to the files if you use a transcribed text. When you transcribe a recording, you will translate, arrange, and store the data for later reference.
Further, this article will address 4 easy ways that can transcribe mp3 to text, keep reading!
- Method 1: Convert MP3 to Text Online by Media.io
- Method 2: Convert MP3 to Text Online by Veed.io
- Method 3: Convert MP3 to text online by Amberscript
- Method 4: Convert MP3 to text online by Sonix
- Bonus tip: Add text to your video with Wondershare Filmora
Method 2: Convert MP3 to Text Online by Veed.io
Would you like to ease your continuous struggle of concentrating on recordings? Well, then convert your MP3 to a text file and transcribe the speech as your way out. A big thanks to VEED! The online auto transcription tool from VEED is quick, accessible, and clear to use. Veed.io is compatible with Video files, WAVs, OGGs, M4As, which you can transcribe to text with a couple of clicks.
Here are three simple steps to converting an MP3 to text using the handy online mp3 to text converter Veed.io.
Step 1: Launch Veed.io
Start by launching the online converter Veed.io on your browser.
Step 2: Upload your MP3 file
To get started, click on Upload a file to import your MP3 file from your device to the online converter or simply drag and drop the file. You can also choose from the other upload options available such as Dropbox, YouTube link, or record.
Step 3: Convert to text
From the edit menu on the left, go to Subtitles, tap on the Auto Transcribe option, pick your language, and hit Start. You can also choose to add manual subtitles or upload a subtitle file.
Step 4: Download the transcribed file
Once your file is transcribed to text, hit Export and select your required preset from the Preset dropdown. Finally, tap on Export video to save the file to your device.
What are the benefits of using this mp3 to text converter?
At the touch of a button, you can convert audio to text.
- Fast
You can transcribe your audio in a couple of seconds with VEED, avoiding your hours of endless writing.
- Simple
You can change every line and word to ensure that the transcription is just everything you want.
- Adaptable
This audio transcription platform is used to make clear transcripts, descriptions, or individual transcript files.
Method 3: Convert MP3 to text online by Amberscript
Ambertrasncipt is an excellent mp3 to text converter with speech recognition technology. The software allows you to transcribe audio to text automatically in just a few steps. Here’s a quick tutorial on how you can transcribe mp3 to text using Amberscript.
Step 1: Upload a file
Open Amberscript on your browser to get started. Next, click on Choose File to upload your audio file or drag and drop the file on the main interface.
Step 2: Transcribe mp3 to text
For automatic transcription, select Transcription and further choose Automatic under the select service menu. You can also choose to add manual subtitles. Finally, hit Order to start the transcription process.
Step 3: Transfer
After the transcription process is completed, preview and save your transcript. To save the file to your device, hit Export and choose from the available export options such as Text, Subtitles, or audio.
What are the benefits of using this mp3 to text converter?
- Simple
Find essential sections of your text quickly by searching through them.
- SEO-friendly
Use your text to boost your content’s search engine ranking.
- Edit
You can’t change what was said once the audio has been captured. That isn’t a problem with text analysis.
To conduct qualitative research, you’ll need a transcript.
- Research
To conduct qualitative research, you’ll need a transcript.
- Translate
With text, translating your document becomes much more straightforward.
- Quickly
Text is much faster and simpler to operate.
Method 4: Convert MP3 to text online by Sonix
With Sonix you can transcribe, edit, highlight, timestamp, and even translate your transcript in 3 to 4 minutes. Just follow these simple steps and you can convert mp3 to text easily.
Step 1: Sign up for free
First, launch the online tool and sign up for a free account on Sonix or sign in if you have an existing account.
Step 2: Upload your audio file
Drag and drop your MP3 Audio File file (*.MP3) from your PC or import from Google Drive, Dropbox, or YouTube.
Step 3: Convert mp3 to text
Now, select your desired language from the Language dropdown and tap on Transcribe to start the transcription.
Step 4: Edit the transcript
After the transcription process is completed, use the Sonix AudioText Editor to polish your transcript. Simply type in your browser to correct any words.
Step 5: Export
Once all the edits are made, select Export. To save a text version of your MP3 file, choose ‘Text file (.txt)’ from the options list and hit Download.
Bonus tip: Add text to your video with Wondershare Filmora
Adding text to your video is the perfect way to connect with your audience on another level. Whether you want to add an exciting intro, ending credits, or captions to tell your story, Wondershare Filmora lets you do just anything. Filmora is a handy and professional video editor that comes loaded with creative editing tools. It offers a variety of text templates with fancy fonts and stunning transitions you can choose from.
What’s more? Using Filmora is very easy, thanks to its intuitive interface. To inspire you, here is a quick guide on how you can add fancy texts to enhance your video.
Step 1: Import a video to the Filmora timeline
Open the Wondershare Filmora tool and hit New Project. On the main screen, open the Import dropdown and select Import media files to import your video. Now drag the video onto the timeline to start editing.
Step 2: Choose a text template
On the Edit menu at the top, go to Titles. From the available presets, you can choose from the cover opener, ending credits, subtitles and lower thirds. Double click a template to preview it, and select the one you like. Then drag the selected template to the timeline.
Step 3: Edit your text
To edit your custom text, double-click the Text thumbnail on the timeline. Now on the text editor panel, customize your font, color, alignment, and size of your text. Or you can choose a built in text style from the text style library. Further, go to the Animation tab, to add special animations to your text.
Now you can either click ok to save the edits or choose the Advanced option to enter the advanced editing panel. Here you can customize the text with elements, shapes, text boxes, and shadows. You can also adjust the duration of your text as you like.
Step 4: Export your video with titles
Once all the edits are completed, tap the Export button on the top right corner. Then give your video a name, select where you want to save it, choose a resolution, and again hit Export.
CONCLUSION
Converting audio to text is not anymore a menial task and does not require human transcribers sitting all day long to listen to audio files. The automatic online transcription apps and platforms allow anyone to convert mp3 to text extremely fast and efficiently. You can transcribe any audio file just like a native speaker with 99 percent accuracy without knowing much about the process.
This strategy can benefit students, professionals, and others who want to consume information but find it hard to concentrate or remember things.
Shanoon Cox
Shanoon Cox is a writer and a lover of all things video.
Follow @Shanoon Cox
Transform Your Audio Projects: Professional Tips on Utilizing Keyframes in Adobe Premiere Pro for macOS
How to Create Audio Keyframes in Adobe Premiere Pro on Mac

Benjamin Arango
Aug 18, 2022• Proven solutions
Keyframing is one of the most vital components in post-production that can be applied to video and audio tracks. For instance, by adding keyframes in Premiere Pro, you can easily apply properties and values to a specific segment. To do this, you can set up an audio keyframe at the start and another one at the ending of the selected part.
Therefore, with the Premiere Pro keyframe options, you can achieve a gradual flow in your tracks. Without much ado, I’m going to help you set up audio keyframes in Premiere Pro with their vital operations in this post.
Part 1: How to Add Audio Keyframes in Adobe Premiere Pro on Mac?
As I have mentioned, to apply adjustments or properties to a specific point in the audio track, we can use Adobe Premiere keyframes. As of now, there are two kinds of keyframes in Adobe Premiere – Clip Keyframe and Track Keyframe. Before you start adding keyframes in Premiere Pro, you should know their difference.
- Clip Keyframes: This would apply audio effects for the selected clip (like adjusting the volume level). The audio keyframe will only apply to the clip that you have selected and not the entire track.
- Track Keyframes: These audio keyframes in Premiere are applied to the entire audio track (they have values like Volume and Mute).
Now when we have covered the basics, let’s learn how to set up audio keyframes in Premiere on your Mac.
Step 1: Add the Audio Track on Adobe Premiere Pro
To start with, you can launch Adobe Premiere Pro, go to your Project > Import, and simply load any audio track. You can also drag and drop any audio file to the project as well.

Once the audio track is added to the project, you can further drag and drop it to the sequence section (timelines) at the bottom.

Step 2: Show Keyframes for the Track
The application would automatically render different keyframes already present in the track. For this, you need to first select the ribbon of your audio track from the timeline. Now, just right-click on the working area and click on the “Show Audio Keyframes” button from the context menu.

If you want, you can also click on the “Show Keyframes” button that is depicted by a radio/circle icon on the timeline.

Step 3: Work on Audio Keyframes in Premiere Pro
Now, you can view either clip or track keyframes for the track. For this, you can just right-click the keyframe button on the timeline to get different options. Here, you can choose to get Clip or Track keyframes in Premiere Pro. There are options to mute the entire audio or set up its volume under the track option.

Once you have enabled the audio keyframe options in Premiere Pro, you can view keyframes in a highlighted color. You can now take the assistance of the Pen tool or press the CMD key on your Mac to select keyframes. This will let you select the starting and ending keyframes in Premiere Pro so that you can easily apply the desired effect to the selected segment.

Part 2: How to Fade Audio In/Out with Keyframes in Adobe Premiere Pro on Mac?
Once you have learned how to use the Adobe Premiere keyframe feature, you can apply all kinds of transitions and effects to a segment. Let’s suppose you wish to implement fade-in or out features for any segment. In this case, we will use the Clip Keyframing option in Premiere Pro to achieve these transitions the way we like.
Step 1: Get Clip Keyframes in Premiere Pro
Firstly, you can just add any audio track to your Premiere Pro project and drag it to the timeline. You can just click on the show keyframes button to start adding keyframes in Premiere Pro.
If you want, you can just right-click the track, go to the Show Clip Keyframes > Volume > Level option. This will show the level of the volume for different keyframes, letting you pick the right segments to fade in and out.

Step 2: Apply Fade-in or Out options
Once you have clip keyframes in your track, you can easily do whatever you like. You can use the Pen tool or press the CMD key on your Mac to select the starting and the ending of the clip.
Now, go to the audio segment from the timeline and simply place the audio level up (to fade-in) or down (to fade-out). You can set the audio levels for different segments the way you like to customize these operations in your audio track.

Pro Tip: Use Inbuilt Fade In/Out Transitions
With keyframes in Premiere Pro, you can certainly customize the fade in/out options. Though, if you are running short on time, then you can use its inbuilt features for audio adjustments.
For this, you can just go to its Effects > Audio Transitions option. To fade-out any clip, select the Crossfade > Exponential Fade and simply drag and drop to the location of your choice.

In the same way, you can also go to Effects > Audio Transitions > Crossfade and choose the “Constant Gain” feature. You can drag and drop the Contact Gain effect on any segment to implement the fade-in effect.
That’s a wrap, everyone! I’m sure that after reading this post, you would be able to set up audio keyframes in Adobe Premiere Pro. Since adding keyframes in Premiere can be done automatically, it would save your time in audio editing and post-production. Mostly, the clip audio keyframing is used in Adobe to customize the sound at any desired segment. Apart from fade-in or out, there are tons of other effects that you can apply to your audio tracks with the help of keyframes. Go ahead and try the Adobe Premiere Pro keyframing feature and let us know about your experience in the comments.
Benjamin Arango
Benjamin Arango is a writer and a lover of all things video.
Follow @Benjamin Arango
Benjamin Arango
Aug 18, 2022• Proven solutions
Keyframing is one of the most vital components in post-production that can be applied to video and audio tracks. For instance, by adding keyframes in Premiere Pro, you can easily apply properties and values to a specific segment. To do this, you can set up an audio keyframe at the start and another one at the ending of the selected part.
Therefore, with the Premiere Pro keyframe options, you can achieve a gradual flow in your tracks. Without much ado, I’m going to help you set up audio keyframes in Premiere Pro with their vital operations in this post.
Part 1: How to Add Audio Keyframes in Adobe Premiere Pro on Mac?
As I have mentioned, to apply adjustments or properties to a specific point in the audio track, we can use Adobe Premiere keyframes. As of now, there are two kinds of keyframes in Adobe Premiere – Clip Keyframe and Track Keyframe. Before you start adding keyframes in Premiere Pro, you should know their difference.
- Clip Keyframes: This would apply audio effects for the selected clip (like adjusting the volume level). The audio keyframe will only apply to the clip that you have selected and not the entire track.
- Track Keyframes: These audio keyframes in Premiere are applied to the entire audio track (they have values like Volume and Mute).
Now when we have covered the basics, let’s learn how to set up audio keyframes in Premiere on your Mac.
Step 1: Add the Audio Track on Adobe Premiere Pro
To start with, you can launch Adobe Premiere Pro, go to your Project > Import, and simply load any audio track. You can also drag and drop any audio file to the project as well.
Once the audio track is added to the project, you can further drag and drop it to the sequence section (timelines) at the bottom.
Step 2: Show Keyframes for the Track
The application would automatically render different keyframes already present in the track. For this, you need to first select the ribbon of your audio track from the timeline. Now, just right-click on the working area and click on the “Show Audio Keyframes” button from the context menu.
If you want, you can also click on the “Show Keyframes” button that is depicted by a radio/circle icon on the timeline.
Step 3: Work on Audio Keyframes in Premiere Pro
Now, you can view either clip or track keyframes for the track. For this, you can just right-click the keyframe button on the timeline to get different options. Here, you can choose to get Clip or Track keyframes in Premiere Pro. There are options to mute the entire audio or set up its volume under the track option.
Once you have enabled the audio keyframe options in Premiere Pro, you can view keyframes in a highlighted color. You can now take the assistance of the Pen tool or press the CMD key on your Mac to select keyframes. This will let you select the starting and ending keyframes in Premiere Pro so that you can easily apply the desired effect to the selected segment.
Part 2: How to Fade Audio In/Out with Keyframes in Adobe Premiere Pro on Mac?
Once you have learned how to use the Adobe Premiere keyframe feature, you can apply all kinds of transitions and effects to a segment. Let’s suppose you wish to implement fade-in or out features for any segment. In this case, we will use the Clip Keyframing option in Premiere Pro to achieve these transitions the way we like.
Step 1: Get Clip Keyframes in Premiere Pro
Firstly, you can just add any audio track to your Premiere Pro project and drag it to the timeline. You can just click on the show keyframes button to start adding keyframes in Premiere Pro.
If you want, you can just right-click the track, go to the Show Clip Keyframes > Volume > Level option. This will show the level of the volume for different keyframes, letting you pick the right segments to fade in and out.
Step 2: Apply Fade-in or Out options
Once you have clip keyframes in your track, you can easily do whatever you like. You can use the Pen tool or press the CMD key on your Mac to select the starting and the ending of the clip.
Now, go to the audio segment from the timeline and simply place the audio level up (to fade-in) or down (to fade-out). You can set the audio levels for different segments the way you like to customize these operations in your audio track.
Pro Tip: Use Inbuilt Fade In/Out Transitions
With keyframes in Premiere Pro, you can certainly customize the fade in/out options. Though, if you are running short on time, then you can use its inbuilt features for audio adjustments.
For this, you can just go to its Effects > Audio Transitions option. To fade-out any clip, select the Crossfade > Exponential Fade and simply drag and drop to the location of your choice.
In the same way, you can also go to Effects > Audio Transitions > Crossfade and choose the “Constant Gain” feature. You can drag and drop the Contact Gain effect on any segment to implement the fade-in effect.
That’s a wrap, everyone! I’m sure that after reading this post, you would be able to set up audio keyframes in Adobe Premiere Pro. Since adding keyframes in Premiere can be done automatically, it would save your time in audio editing and post-production. Mostly, the clip audio keyframing is used in Adobe to customize the sound at any desired segment. Apart from fade-in or out, there are tons of other effects that you can apply to your audio tracks with the help of keyframes. Go ahead and try the Adobe Premiere Pro keyframing feature and let us know about your experience in the comments.
Benjamin Arango
Benjamin Arango is a writer and a lover of all things video.
Follow @Benjamin Arango
“Free and Open Source Audio Conversion Software: Top Picks “
10+ Free Online Audio to Text Converters
Shanoon Cox
Mar 27, 2024• Proven solutions
An audio-to-text converter is a tool that can convert audio files to texts or even record any audio and produce the text of it simultaneously. Audio files are one of the most used methods of storing information. From online classes and long lectures to big business meetings and product information, audio is being shared a lot across the world.
But accessing information from a long audio file can be difficult and time-consuming, which is why there is a need to convert audio to text. Information in the form of text can easily be fully or partly accessed and edited whenever needed. And texts can also easily be shared with whomever you want.
So let’s have a look at some of the best audio-to-text converters that might be of use to you.
10+ Free Online Audio to Text Converters
There is number of audio text converters available in the online market that can help you while studying, researching, or even in your business. Some of these recorders can convert any audio file to texts while some others can record and convert to text at the same time. Here we will talk about the top 11 free applications that can be used to convert audio to text.
| 1 - Filmora | 2 - Audext | 3 - Sonix.ai |
|---|---|---|
| 4 - Virtualspeech.com | 5 - Speechnotes | 6 - SpeechTexter |
| 7 - Textfromtospeech.com | 8 - Dictation.io | 9 - Voice Note |
| 10 - Voice Notebook | 11 - NaturalReaders |
1. Wondershare Filmora
Filmora’s Speech To Text (STT) function allows you to transcript audio/voice to subtitles/text in one click. it can save your plenty of time on transcribing subtitles and boost your editing efficiency by applying speech-to-text.
What you need to do is download the software and subsribe for its plan.
Features
- Built-in function to transcribe subtitles and captions for your video
- High accuracy in generating text, allows you to edit text by yourself
- Supports up to 26 languages of transcription to engage more users all around the world
- Offers various tools for editing your videos and audio
2. Audext
Audext is a free online application that can help you to save a lot of time while transcribing any audio to text. The transcription to text is done with the use of an advanced AI and hence produces faster and more accurate results.
Audext is used by people from different sectors like education, marketing, media, consulting, healthcare, etc. for their work purposes.

Features
- An inbuilt editor for editing the text while transcribing
- Identifies the speaker easily
- Supports a variety of audio and video formats like MP3, WAV, MP4, etc.
- Offers an option of easy upload and export of files
Pricing
- Free
- Transcription costs for one hour are $12
- Or with the subscription $5
3. Sonix.ai
Sonix is a fast and accurate application that can be used to convert audio to text for any purpose. This application offers a 30-minute free transcription after which an affordable amount may be charged.
Features
- Automatic transcription of files and accessibility of these files from any device
- Advanced translation of these devices into 30 different languages
- Addition of subtitles into any video for easy understanding
- A Sonix media player that allows to share and publish files easily
Pricing
- Free
- Standard subscription - $10 per hour
- Premium subscription - $5 per hour, and an addition of $22 per month
4. Virtualspeech.com
Virtualspeech is an online tool that can transcribe audio to text free. It is a very simple application that allows fats conversion of audio files to texts. After conversion, the file will be emailed to the user from where it can be downloaded and saved.
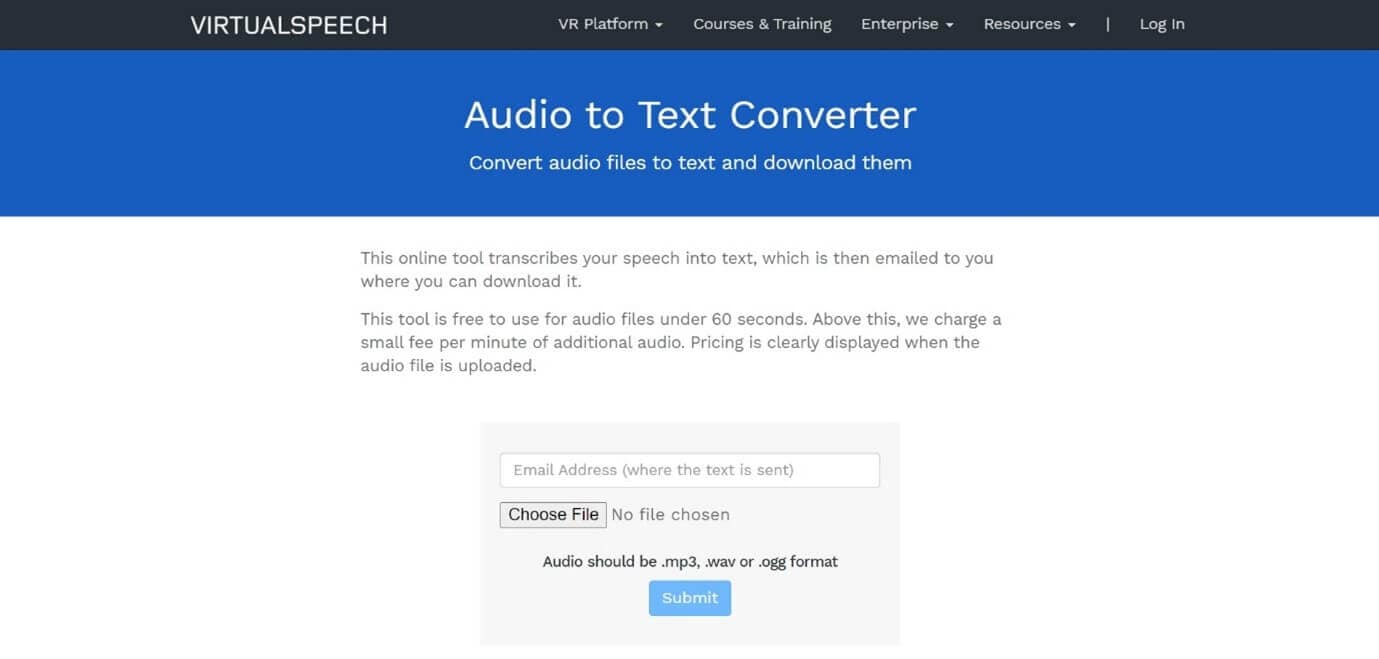
Features
- Free conversion of any audio files under 1 minute.
- Conversion of audio files of formats Mp3, Wav, or Ogg.
- Provides security as the no files are stored on the server and the site is secured with a b SSL
- Speech to text converter within the site
Pricing
- $0.50 per minute after the free minute

Filmora Audio to Text Converter
Filmora - Audio to Text Converter
• Enables you to convert video speech to text in one click
• Extremely accurate in video speech recognition
• Cross-platform supported - (Windows, Mac, iOS, Android)
Transcribe Audio to Text Free Transcribe Audio to Text Free Transcribe Audio to Text Free Learn More >
5. Speechnotes
Speechnotes is a powerful online notepad that can easily convert audio to text. This tool has implemented an efficient and clean design that makes conversion and editing very easy.
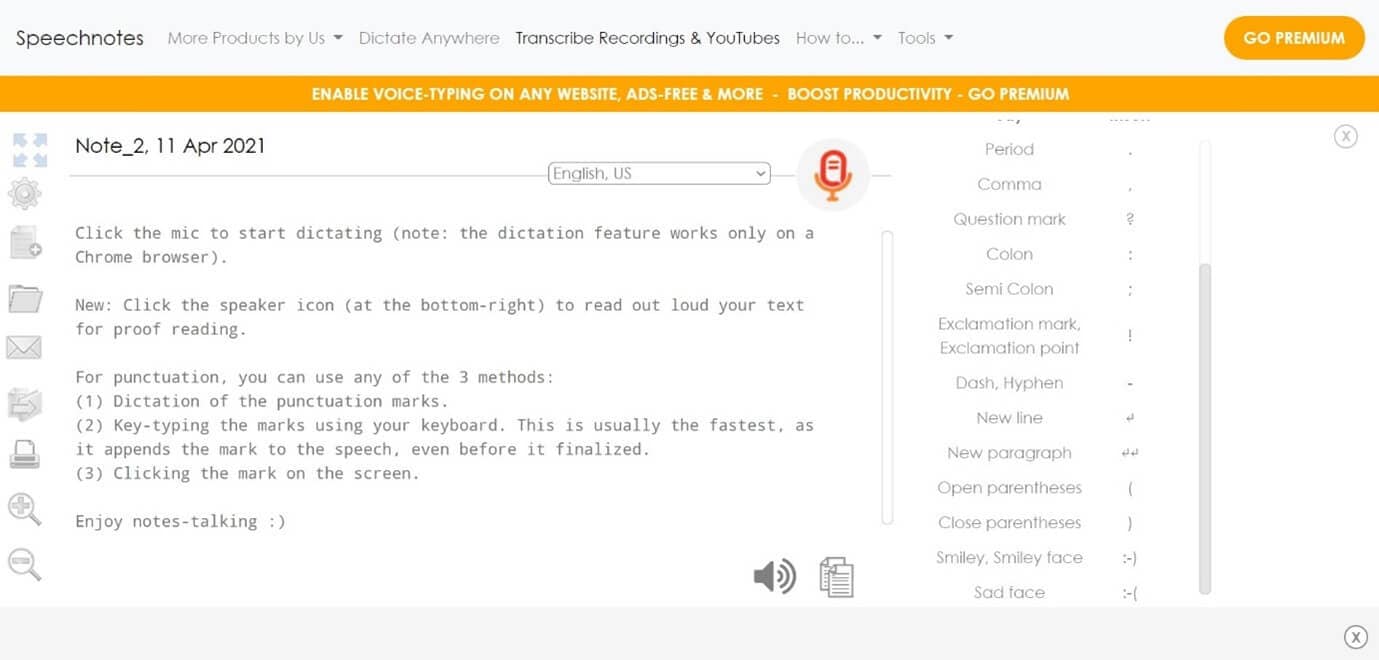
Features
- Best results with an advanced speech recognition technology
- Built-in tools that allow easy editing and correction of the converted text
- Fast working on any web browser and no installation apps required
- Autosave feature that ensures that your data is not lost
- Export to Google Drive option for easy accessibility from any device
Pricing
- Free
- Premium version with the addition of some extra features
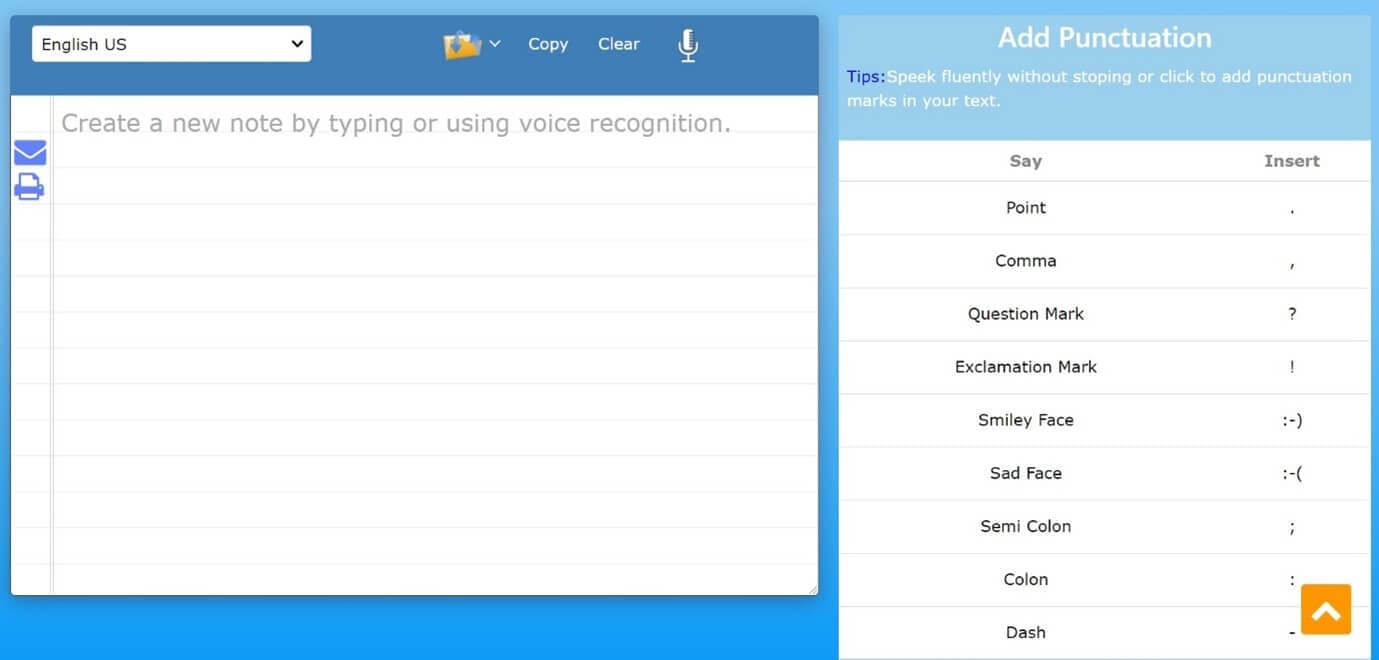
6. SpeechTexter
SpeechTexter is a multilingual application that can help you transcribe any type of book, document, blog posts, etc. by using your audio. This tool has a custom dictionary that allows adding short commands for adding frequently used data like phone numbers, punctuation marks, addresses, etc.
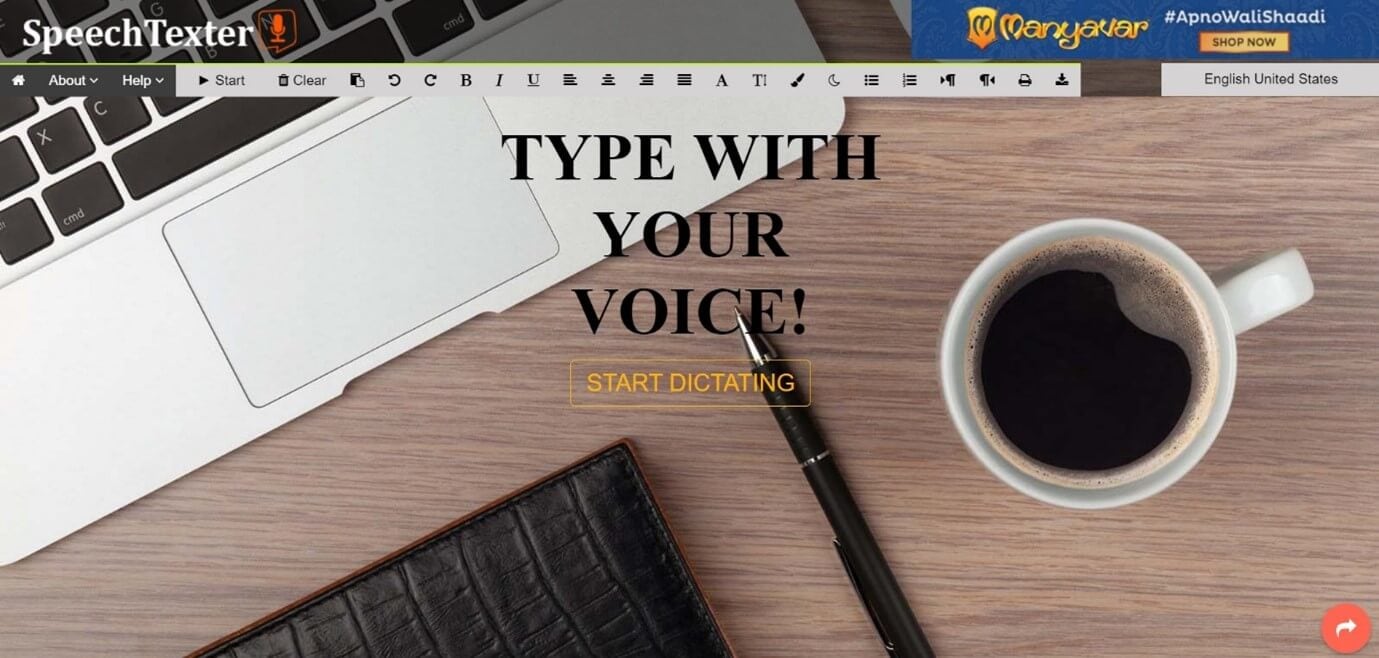
Features
- Offers accuracy rate of 90 to 95% percent
- Can be used to increase your fluency in English
- Offers powerful real-time speech recognition
- Easy creation of emails, text notes, blog posts, etc.
- A custom dictionary that can be customized according to the individual use
- Supports more than 60 languages
- Available on both chrome browser and android
Pricing
- Free
7. Textfromtospeech.com
Textfromtospeech is a free online tool that allows you to easily convert audio to text without the need for registration downloading or installation. It has a very simple interface that can record and convert your speech into text with a single click.
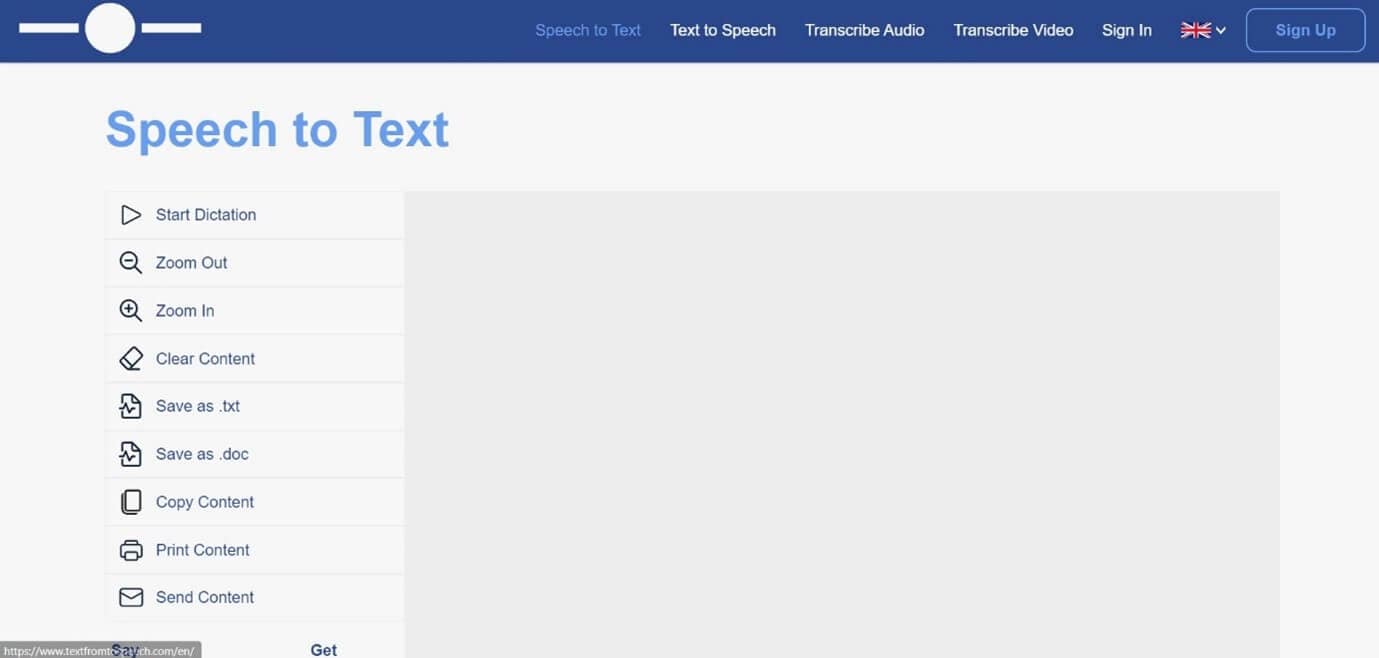
Features
- Free and online text recognition and transcription
- Supports many languages
- Pause and record option while converting large files
- Can use voice commands for insertion of symbols like “comma”, “full stop”, etc.
- Smart capitalization
- Easy saving, copying, and sharing of the dictated text
- Available on mobile devices, tablet, and computer
Pricing
- Free
![]()
A cross-platform for making videos anywhere for all creators

Why your video editing isn’t good enough? How about some creative inspo?
- 100 Million+ Users
- 150+ Countries and Regions
- 4 Million+ Social Media Followers
- 5 Million+ Stock Media for Use
* Secure Download

8. Dictation.io
Dictation is a free and simple tool that offers fast conversion of audio to text. Its interface is like that of a very simple notepad and allows the conversion of audio to text for a number of languages including English, Español, Français, Italiano, Português, and more.

Features
- Advanced speech recognition
- Easy editing within the notes
- Easy sharing to mail, tweets, etc.
- No storing of any data and hence offers the necessary security
Pricing
- Free
9. Voice Note
Voice Note is an online speech recognition tool that can automatically record and type anything including speech, interview, etc. This tool can convert any audio file into text format which can easily be opened in Microsoft Word.
Features
- No saving of data in any servers
- Customizable options for audio and text
- A number of languages to choose from while converting audio to text
- Easy copying and exporting options
- Direct Print option from the site
Price
- Free
10. Voice Notebook
Voice Notebook is a speech recognition app that can also convert audio files to text. This application is compatible with a wide range of devices like Mac, Windows, Linux OS, Android, and iOS.
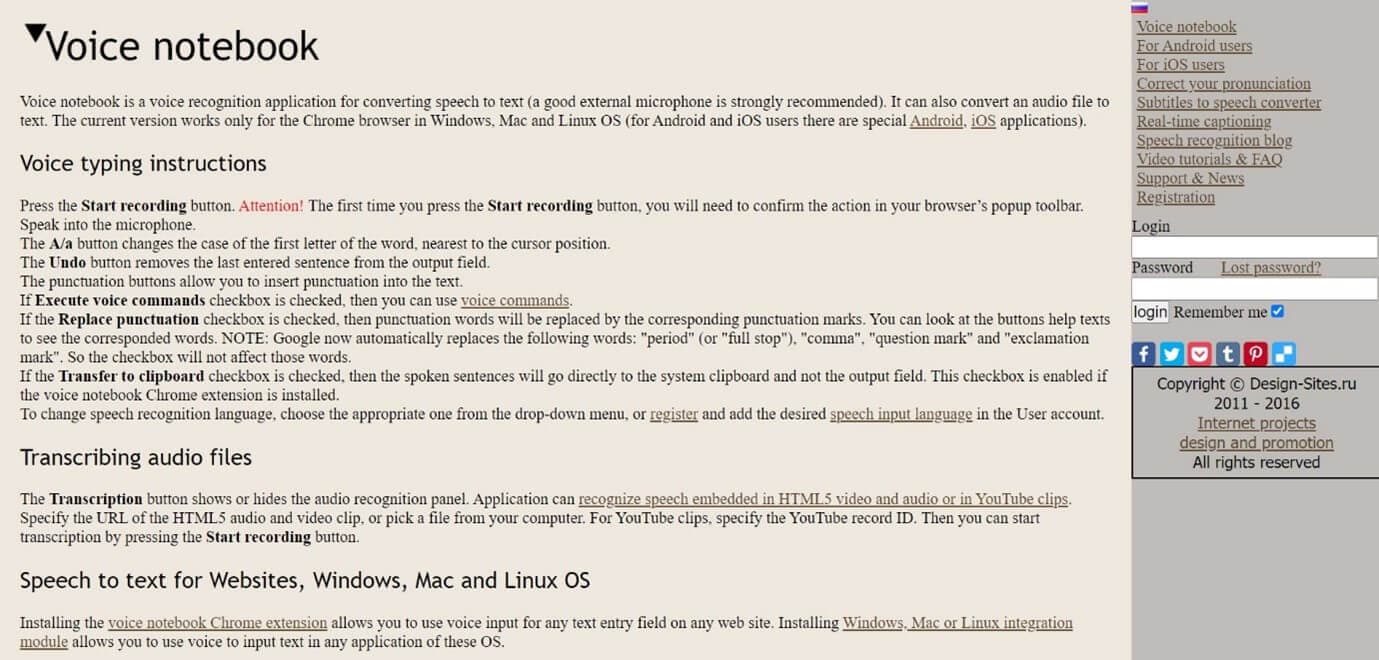
Features
- Voice commands are available when you transcribe audio to text
- Has the ability to recognize any speech embedded in YouTube clips or HTML5 audio or video
- Simple interface and easy editing of text
- An option to download into TXT format is available
Price
- Free
11. NaturalReaders
Natural Readers is a professional program that can convert any text into spoken words. This program offers a lot of features like adjusting the speed of audio, conversion into mp3, selection of voice, etc.
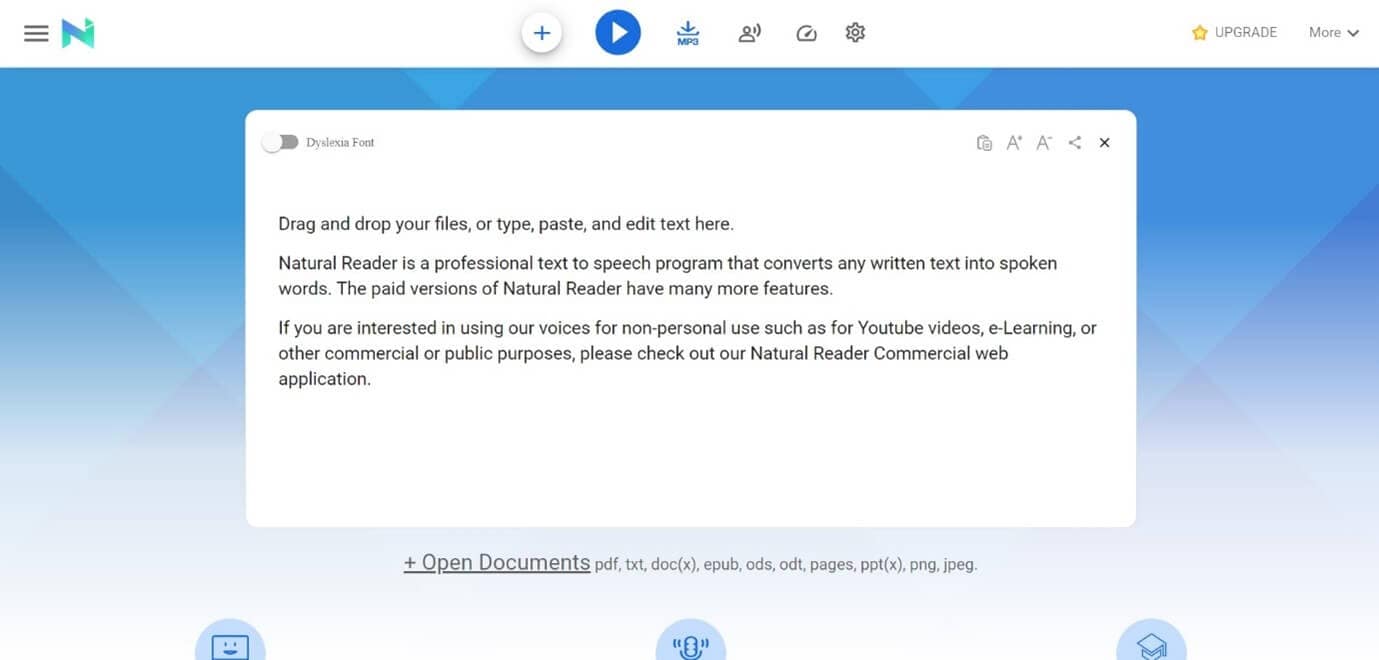
Features
- A font option available for dyslexic people
- Supports formats like pdf, txt, docs, epub, ods, ppt, png, jpeg
- App versions of this online tool are available both for android and apple devices
Pricing
- Free
- Premium plan - $9.99 per month, $59.88 per year
- Plus plan - $19.00 per month, $110.00 per year
Filmora Audio to Text Converter
Filmora - Audio to Text Converter
• Enables you to convert video speech to text in one click
• Extremely accurate in video speech recognition
• Cross-platform supported - (Windows, Mac, iOS, Android)
Transcribe Audio to Text Free Transcribe Audio to Text Free Transcribe Audio to Text Free Learn More >
Conclusion
We have listed above the top 11 tools that can be used to convert audio to text on any device using a browser. Converting audio to text allows you to easily access the required information, edit it, or even share it fully or partially with anyone you wish,
The applications we have listed are free and some of them might charge for the extra features they provide. So no matter what your profession is if you are looking for an app to convert audio to text or record and produce the text of the recordings, choose any one of the listed above applications.
We hope our suggestions help you reduce effort and save time. Please leave your valuable feedback in the comment box below, thank you.
Transform Long Videos into Short Ones Instantly
Turn long videos into viral clips. Effortlessly transform lengthy videos into engaging, shareable clips.

Shanoon Cox
Shanoon Cox is a writer and a lover of all things video.
Follow @Shanoon Cox
Shanoon Cox
Mar 27, 2024• Proven solutions
An audio-to-text converter is a tool that can convert audio files to texts or even record any audio and produce the text of it simultaneously. Audio files are one of the most used methods of storing information. From online classes and long lectures to big business meetings and product information, audio is being shared a lot across the world.
But accessing information from a long audio file can be difficult and time-consuming, which is why there is a need to convert audio to text. Information in the form of text can easily be fully or partly accessed and edited whenever needed. And texts can also easily be shared with whomever you want.
So let’s have a look at some of the best audio-to-text converters that might be of use to you.
10+ Free Online Audio to Text Converters
There is number of audio text converters available in the online market that can help you while studying, researching, or even in your business. Some of these recorders can convert any audio file to texts while some others can record and convert to text at the same time. Here we will talk about the top 11 free applications that can be used to convert audio to text.
| 1 - Filmora | 2 - Audext | 3 - Sonix.ai |
|---|---|---|
| 4 - Virtualspeech.com | 5 - Speechnotes | 6 - SpeechTexter |
| 7 - Textfromtospeech.com | 8 - Dictation.io | 9 - Voice Note |
| 10 - Voice Notebook | 11 - NaturalReaders |
1. Wondershare Filmora
Filmora’s Speech To Text (STT) function allows you to transcript audio/voice to subtitles/text in one click. it can save your plenty of time on transcribing subtitles and boost your editing efficiency by applying speech-to-text.
What you need to do is download the software and subsribe for its plan.
Features
- Built-in function to transcribe subtitles and captions for your video
- High accuracy in generating text, allows you to edit text by yourself
- Supports up to 26 languages of transcription to engage more users all around the world
- Offers various tools for editing your videos and audio
2. Audext
Audext is a free online application that can help you to save a lot of time while transcribing any audio to text. The transcription to text is done with the use of an advanced AI and hence produces faster and more accurate results.
Audext is used by people from different sectors like education, marketing, media, consulting, healthcare, etc. for their work purposes.
Features
- An inbuilt editor for editing the text while transcribing
- Identifies the speaker easily
- Supports a variety of audio and video formats like MP3, WAV, MP4, etc.
- Offers an option of easy upload and export of files
Pricing
- Free
- Transcription costs for one hour are $12
- Or with the subscription $5
3. Sonix.ai
Sonix is a fast and accurate application that can be used to convert audio to text for any purpose. This application offers a 30-minute free transcription after which an affordable amount may be charged.
Features
- Automatic transcription of files and accessibility of these files from any device
- Advanced translation of these devices into 30 different languages
- Addition of subtitles into any video for easy understanding
- A Sonix media player that allows to share and publish files easily
Pricing
- Free
- Standard subscription - $10 per hour
- Premium subscription - $5 per hour, and an addition of $22 per month
4. Virtualspeech.com
Virtualspeech is an online tool that can transcribe audio to text free. It is a very simple application that allows fats conversion of audio files to texts. After conversion, the file will be emailed to the user from where it can be downloaded and saved.
Features
- Free conversion of any audio files under 1 minute.
- Conversion of audio files of formats Mp3, Wav, or Ogg.
- Provides security as the no files are stored on the server and the site is secured with a b SSL
- Speech to text converter within the site
Pricing
- $0.50 per minute after the free minute
Filmora Audio to Text Converter
Filmora - Audio to Text Converter
• Enables you to convert video speech to text in one click
• Extremely accurate in video speech recognition
• Cross-platform supported - (Windows, Mac, iOS, Android)
Transcribe Audio to Text Free Transcribe Audio to Text Free Transcribe Audio to Text Free Learn More >
5. Speechnotes
Speechnotes is a powerful online notepad that can easily convert audio to text. This tool has implemented an efficient and clean design that makes conversion and editing very easy.
Features
- Best results with an advanced speech recognition technology
- Built-in tools that allow easy editing and correction of the converted text
- Fast working on any web browser and no installation apps required
- Autosave feature that ensures that your data is not lost
- Export to Google Drive option for easy accessibility from any device
Pricing
- Free
- Premium version with the addition of some extra features
6. SpeechTexter
SpeechTexter is a multilingual application that can help you transcribe any type of book, document, blog posts, etc. by using your audio. This tool has a custom dictionary that allows adding short commands for adding frequently used data like phone numbers, punctuation marks, addresses, etc.
Features
- Offers accuracy rate of 90 to 95% percent
- Can be used to increase your fluency in English
- Offers powerful real-time speech recognition
- Easy creation of emails, text notes, blog posts, etc.
- A custom dictionary that can be customized according to the individual use
- Supports more than 60 languages
- Available on both chrome browser and android
Pricing
- Free
7. Textfromtospeech.com
Textfromtospeech is a free online tool that allows you to easily convert audio to text without the need for registration downloading or installation. It has a very simple interface that can record and convert your speech into text with a single click.
Features
- Free and online text recognition and transcription
- Supports many languages
- Pause and record option while converting large files
- Can use voice commands for insertion of symbols like “comma”, “full stop”, etc.
- Smart capitalization
- Easy saving, copying, and sharing of the dictated text
- Available on mobile devices, tablet, and computer
Pricing
- Free
![]()
A cross-platform for making videos anywhere for all creators
Why your video editing isn’t good enough? How about some creative inspo?
- 100 Million+ Users
- 150+ Countries and Regions
- 4 Million+ Social Media Followers
- 5 Million+ Stock Media for Use
* Secure Download
8. Dictation.io
Dictation is a free and simple tool that offers fast conversion of audio to text. Its interface is like that of a very simple notepad and allows the conversion of audio to text for a number of languages including English, Español, Français, Italiano, Português, and more.
Features
- Advanced speech recognition
- Easy editing within the notes
- Easy sharing to mail, tweets, etc.
- No storing of any data and hence offers the necessary security
Pricing
- Free
9. Voice Note
Voice Note is an online speech recognition tool that can automatically record and type anything including speech, interview, etc. This tool can convert any audio file into text format which can easily be opened in Microsoft Word.
Features
- No saving of data in any servers
- Customizable options for audio and text
- A number of languages to choose from while converting audio to text
- Easy copying and exporting options
- Direct Print option from the site
Price
- Free
10. Voice Notebook
Voice Notebook is a speech recognition app that can also convert audio files to text. This application is compatible with a wide range of devices like Mac, Windows, Linux OS, Android, and iOS.
Features
- Voice commands are available when you transcribe audio to text
- Has the ability to recognize any speech embedded in YouTube clips or HTML5 audio or video
- Simple interface and easy editing of text
- An option to download into TXT format is available
Price
- Free
11. NaturalReaders
Natural Readers is a professional program that can convert any text into spoken words. This program offers a lot of features like adjusting the speed of audio, conversion into mp3, selection of voice, etc.
Features
- A font option available for dyslexic people
- Supports formats like pdf, txt, docs, epub, ods, ppt, png, jpeg
- App versions of this online tool are available both for android and apple devices
Pricing
- Free
- Premium plan - $9.99 per month, $59.88 per year
- Plus plan - $19.00 per month, $110.00 per year
Filmora Audio to Text Converter
Filmora - Audio to Text Converter
• Enables you to convert video speech to text in one click
• Extremely accurate in video speech recognition
• Cross-platform supported - (Windows, Mac, iOS, Android)
Transcribe Audio to Text Free Transcribe Audio to Text Free Transcribe Audio to Text Free Learn More >
Conclusion
We have listed above the top 11 tools that can be used to convert audio to text on any device using a browser. Converting audio to text allows you to easily access the required information, edit it, or even share it fully or partially with anyone you wish,
The applications we have listed are free and some of them might charge for the extra features they provide. So no matter what your profession is if you are looking for an app to convert audio to text or record and produce the text of the recordings, choose any one of the listed above applications.
We hope our suggestions help you reduce effort and save time. Please leave your valuable feedback in the comment box below, thank you.
Transform Long Videos into Short Ones Instantly
Turn long videos into viral clips. Effortlessly transform lengthy videos into engaging, shareable clips.
Shanoon Cox
Shanoon Cox is a writer and a lover of all things video.
Follow @Shanoon Cox
Also read:
- In 2024, Exploring the Future of Android Calls Beyond Apples FaceTime
- New Pure Sound Protocols Methods to Minimize Distractions in Digital Videos
- New 2024 Approved Unveiling the Epic 15 Rock Melodies that Define 2023S Music Scene
- New 2024 Approved Expertly Curated List of Music to Text Transcription Tools
- Updated In 2024, Are There Better Alternatives to MAGIX Samplitude for Professional Sound Design?
- Windows Users Top 10 Essential Audio Leveling Tools for 2024
- Updated 2024 Approved The Artisans Audit Scrutinizing Expert-Level Tools for Sonic Craftsmanship
- Taming the Audible Ambiance Step-by-Step Techniques for Eradicating Hidden Harmonies
- Premier AIFF to MP3 Utility Accelerate File Conversion with Precision
- Enhance Your Phone Conversations with These Top 6 Audio Upgrade Apps (For Android and iOS) for 2024
- New TOP 3 Online Services for Augmenting MP3 Sound Intensity and Clarity
- New 2024 Approved Melody & Motion Crafting Music Video Beats That Drive Visual Narratives Forward
- New Navigating Through the Leading Free and Collaborative Windows Audio Processing Applications
- Updated Capturing Sounds on the Go A Guide to Free Audio Recording with Audacity for 2024
- Updated In 2024, Exploring Top-Rated Podcast Hosting Solutions
- Updated Live Audio Capture Techniques for Todays Streaming Platforms
- Updated 2024 Approved A Deep Dive Into AI-Powered Acoustic Signal Enhancement
- New In 2024, Innovative Voice Reimagining Solutions for Anime Characters - The Desktop & Mobile Lineup
- Updated In 2024, Aural Enhancements for Visuals Download & Merge Free Music Into Photos Computer/Mobile Device
- Updated Discovering the Free World of Vocal Transformation Rankings & Reviews - Top 7 List
- Professional Audio Editing Essentials Voice Suppression and Video Quality Improvement
- Updated Elevating Your Gaming Experience A Comprehensive Guide to Voice Alteration Using Morphvox for 2024
- In 2024, Did Your Apple iPhone 15 Passcode Change Itself? Unlock It Now | Dr.fone
- In 2024, How to Transfer Contacts from Infinix Hot 30 5G to iPhone XS/11 | Dr.fone
- In 2024, Can I Bypass a Forgotten Phone Password Of Nokia XR21?
- In 2024, Unlocking Made Easy The Best 10 Apps for Unlocking Your Xiaomi 13T Device
- How to Track a Lost Samsung Galaxy S23 Ultra for Free? | Dr.fone
- Best Methods for Xiaomi Redmi Note 13 Pro+ 5G Wont Turn On | Dr.fone
- New Cartoon Video Creation Made Easy 10 Best Mobile Apps for 2024
- How To Restore Missing Call Logs from 13 Ultra
- Why Does My Vivo S17e Keep Turning Off By Itself? 6 Fixes Are Here | Dr.fone
- In 2024, How To Stream Anything From Xiaomi 14 to Apple TV | Dr.fone
- Create Video With PPT for 2024
- 15 Best Strongest Pokémon To Use in Pokémon GO PvP Leagues For Samsung Galaxy F54 5G | Dr.fone
- In 2024, Easiest Guide How to Clone Xiaomi Civi 3 Disney 100th Anniversary Edition Phone? | Dr.fone
- In 2024, Fake the Location to Get Around the MLB Blackouts on Tecno Spark 20 | Dr.fone
- How to recover deleted pictures from HTC U23 Pro.
- The Ultimate Guide to MP4 to MP3 Apps for iOS and Android for 2024
- The Best Android Unlock Software For Oppo Find X7 Device Top 5 Picks to Remove Android Locks
- Bricked Your Honor X50? Heres A Full Solution | Dr.fone
- New Top Tips for Effortless Unity 3D Animation
- 5 Ways to Restart Sony Xperia 5 V Without Power Button | Dr.fone
- In 2024, Does Airplane Mode Turn off GPS Location On Samsung Galaxy A34 5G? | Dr.fone
- Updated In 2024, Experience Final Cut Pro for Free 90-Day Trial Offer
- Title: New How to Convert MP3 to Text Online 3 Easy Ways
- Author: Jacob
- Created at : 2024-05-20 00:03:59
- Updated at : 2024-05-21 00:03:59
- Link: https://audio-shaping.techidaily.com/new-how-to-convert-mp3-to-text-online-3-easy-ways/
- License: This work is licensed under CC BY-NC-SA 4.0.
