
:max_bytes(150000):strip_icc():format(webp)/linksys-default-password-list-2619153-5fccecc7c0b04133b2202a1fa9e8d37a.png)
New Elevating and Dimming Audio in Audacity A Step-by-Step Approach for 2024
Elevating and Dimming Audio in Audacity: A Step-by-Step Approach
Audacity is a free, open access, cross-platform sound editing and recording tool. It is compatible with Windows, Mac OS X, Linux, and various other operating systems. All of these aspects have contributed to Audacity’s worldwide popularity. Audacity features an amplified effect that alters the loudness of your chosen audio and other practical tools that can change the sound in different ways.
As a result, Audacity can not only assist you in modifying the level of an audio file, but it can also help you equalize, reduce, normalize, and so on.
Yes, you have heard it right, Audacity increase volume, but the primary question is how? But don’t worry, you will get the answer after reading the article. This article will explain how you can increase or decrease the volume of a whole and a specific segment of the audio file. Let’s get started.
In this article
01 How to Increase or Decrease Volume Without Distortion and Clipping in Audacity
02 How to Increase Volume of Multiple Files in Audacity?
03 How to Increase Volume in Certain Parts of Track?
04 What’s the Difference between Normalize and Amplify?
Part 1: How to Increase or Decrease Volume Without Distortion and Clipping in Audacity
Audio clipping occurs when the audio input becomes too loud for an amplifier to produce, and the surplus signal creates distortion. When editing, you cannot add additional volume to your audio clip forever because this would result in clipping. In this case, you can use the Audacity application to emphasize your material by turning the volume up or down without distortion and clipping on a track or recording.
Learn how Audacity increase volume without distortion by following the procedure described below:
Step 1: First, download and install the Audacity software on your computer.
Step 2: Select the File from the menu above and click Open to open the audio file.

Step 3: Choose the audio track, go to the Effect menu and pick the Amplify option from the drop-down menu.

Note: You can increase or decrease the volume by double-clicking the track and using the slider under the Gain title.
Step 4: Increase or decrease the volume by sliding the slider or typing the amplification value in the text box next to it in the Amplify window as needed.

Note: Ensure that the Allow Clipping checkbox remains unchecked to avoid clipping. Moreover, keep in mind that increasing the volume to a greater extent can result in distortion.
Related: How to Change Audio Volume in Filmora
Part 2: How to Increase Volume of Multiple Files in Audacity?
Audacity is an open-source audio editing tool. It is used for various purposes, like audio recording, music creation, and audio file editing. It also allows you to increase and decrease the volume of audio files.
You may also apply the modifications to multiple files at once, rather than one at a time. Check out the instructions below to learn how to change the volume of multiple audio files:
Step 1: Select the Import option from the File menu, and then pick the Audio option. Browse to your audio files, choose all of them, and then click the Open option.

Step 2: To select all the files, press Ctrl + A, click on the Effect option in the menu bar and pick Amplify.

Step 3: Now, either enter the value in the text box next to the Amplification Decibels tab or use the slider under it. To verify the operation of increasing the volume, check the allow clipping checkbox. When you’re through with the options, click the Ok button.

Step 4: Amplification will be applied to all the tracks. Go to the File option from the above menu to export the files and then select the Export option.

If you’re running Audacity on macOS computer, you can watch the video tutorial below to apply effects to multiple files.
Part 3: How to Increase Volume in Certain Parts of Track?
The audacity software also allows you to alter a specific section of an audio file. The selection tool can assist in locating a particular area of the track. After you’ve chosen a section of the audio file, you may utilize the amplification effect to increase its loudness. Check out the instructions below to learn how you can achieve it:
Step 1: Launch the Audacity software on the computer. To open the audio file, go to the File menu and select Open. You may also open the file by dragging it.
Step 2: Ensure that the Selection tool is active now. Click and hold the mouse left-click to move from one spot on the track to another.

Step 3: After picking the part, go to the Effect option from the menu and select Amplify.

Step 4: Now, for that specific region, modify the amplification and click OK. This will only change the volume for the area you have selected.

Part 4: What’s the Difference between Normalize and Amplify?
Amplify and Normalize are two essential features of the Audacity tool. Many people think they are the same thing, they are right up to some extent, but there exists a big difference between both the features. Before discussing the differences, you need to know what the terms Normalize and Amplify imply.
Amplify
It is the quickest approach to comprehend the effect’s name if you want to know precisely what impacts are. The frequency of the vibration is enhanced to increase the amplification effect. As previously said, it raises a tiny sound.
Furthermore, because this amplification is extended to all frequencies and amplitude, the noise increases. If you choose ten sources and magnify them by ten decibels, each source will be ten decibels louder than your present sound.

Normalize
The meaning of normalizing is standardized, which is also a feature of its name. Whenever you pick an audio input and use the normalize feature, the level is adjusted automatically according to the previously indicated average volume size in Oda City.
As a result, when one sound source is normalized, there is no discernible difference between it and the amplification mechanism. Still, the effect is evident when several sound sources are performed concurrently.
By pressing Ctrl + A and selecting all ten various audio sources, you may compute the required standard of every sound source, enhance the audio input that is smaller than the normal, and create the audio signal more significant than the standard. Shrink the size of each noise source, such as the name, and normalize the sound.

Related: Best Audio Normalizers for Windows
Differences
To differentiate the meaning and impact precisely, amplification means increasing or reducing the sound, whereas normalizing means equalizing the sound. Simply defined, if you magnify ten sources by ten decibels, each of the shorter and louder noises equals ten decibels in their actual loudness.
When the ten sources are normalized, the louder sounds grow louder, conforming to the standard sound source size. Because the amplifying is done regardless, the little noises are going insane during this procedure.
Conclusion
All in all, Audacity does an excellent job at audio editing. If you simply need to modify an audio file, Audacity is a great option. For increasing and decreasing the volume of single and multiple audio files, Audacity is still one of the best bets in the market. We hope that now know how Audacity increase volume of the audio files after reading this article.
02 How to Increase Volume of Multiple Files in Audacity?
03 How to Increase Volume in Certain Parts of Track?
04 What’s the Difference between Normalize and Amplify?
Part 1: How to Increase or Decrease Volume Without Distortion and Clipping in Audacity
Audio clipping occurs when the audio input becomes too loud for an amplifier to produce, and the surplus signal creates distortion. When editing, you cannot add additional volume to your audio clip forever because this would result in clipping. In this case, you can use the Audacity application to emphasize your material by turning the volume up or down without distortion and clipping on a track or recording.
Learn how Audacity increase volume without distortion by following the procedure described below:
Step 1: First, download and install the Audacity software on your computer.
Step 2: Select the File from the menu above and click Open to open the audio file.
Step 3: Choose the audio track, go to the Effect menu and pick the Amplify option from the drop-down menu.
Note: You can increase or decrease the volume by double-clicking the track and using the slider under the Gain title.
Step 4: Increase or decrease the volume by sliding the slider or typing the amplification value in the text box next to it in the Amplify window as needed.
Note: Ensure that the Allow Clipping checkbox remains unchecked to avoid clipping. Moreover, keep in mind that increasing the volume to a greater extent can result in distortion.
Related: How to Change Audio Volume in Filmora
Part 2: How to Increase Volume of Multiple Files in Audacity?
Audacity is an open-source audio editing tool. It is used for various purposes, like audio recording, music creation, and audio file editing. It also allows you to increase and decrease the volume of audio files.
You may also apply the modifications to multiple files at once, rather than one at a time. Check out the instructions below to learn how to change the volume of multiple audio files:
Step 1: Select the Import option from the File menu, and then pick the Audio option. Browse to your audio files, choose all of them, and then click the Open option.
Step 2: To select all the files, press Ctrl + A, click on the Effect option in the menu bar and pick Amplify.
Step 3: Now, either enter the value in the text box next to the Amplification Decibels tab or use the slider under it. To verify the operation of increasing the volume, check the allow clipping checkbox. When you’re through with the options, click the Ok button.
Step 4: Amplification will be applied to all the tracks. Go to the File option from the above menu to export the files and then select the Export option.
If you’re running Audacity on macOS computer, you can watch the video tutorial below to apply effects to multiple files.
Part 3: How to Increase Volume in Certain Parts of Track?
The audacity software also allows you to alter a specific section of an audio file. The selection tool can assist in locating a particular area of the track. After you’ve chosen a section of the audio file, you may utilize the amplification effect to increase its loudness. Check out the instructions below to learn how you can achieve it:
Step 1: Launch the Audacity software on the computer. To open the audio file, go to the File menu and select Open. You may also open the file by dragging it.
Step 2: Ensure that the Selection tool is active now. Click and hold the mouse left-click to move from one spot on the track to another.
Step 3: After picking the part, go to the Effect option from the menu and select Amplify.
Step 4: Now, for that specific region, modify the amplification and click OK. This will only change the volume for the area you have selected.
Part 4: What’s the Difference between Normalize and Amplify?
Amplify and Normalize are two essential features of the Audacity tool. Many people think they are the same thing, they are right up to some extent, but there exists a big difference between both the features. Before discussing the differences, you need to know what the terms Normalize and Amplify imply.
Amplify
It is the quickest approach to comprehend the effect’s name if you want to know precisely what impacts are. The frequency of the vibration is enhanced to increase the amplification effect. As previously said, it raises a tiny sound.
Furthermore, because this amplification is extended to all frequencies and amplitude, the noise increases. If you choose ten sources and magnify them by ten decibels, each source will be ten decibels louder than your present sound.
Normalize
The meaning of normalizing is standardized, which is also a feature of its name. Whenever you pick an audio input and use the normalize feature, the level is adjusted automatically according to the previously indicated average volume size in Oda City.
As a result, when one sound source is normalized, there is no discernible difference between it and the amplification mechanism. Still, the effect is evident when several sound sources are performed concurrently.
By pressing Ctrl + A and selecting all ten various audio sources, you may compute the required standard of every sound source, enhance the audio input that is smaller than the normal, and create the audio signal more significant than the standard. Shrink the size of each noise source, such as the name, and normalize the sound.
Related: Best Audio Normalizers for Windows
Differences
To differentiate the meaning and impact precisely, amplification means increasing or reducing the sound, whereas normalizing means equalizing the sound. Simply defined, if you magnify ten sources by ten decibels, each of the shorter and louder noises equals ten decibels in their actual loudness.
When the ten sources are normalized, the louder sounds grow louder, conforming to the standard sound source size. Because the amplifying is done regardless, the little noises are going insane during this procedure.
Conclusion
All in all, Audacity does an excellent job at audio editing. If you simply need to modify an audio file, Audacity is a great option. For increasing and decreasing the volume of single and multiple audio files, Audacity is still one of the best bets in the market. We hope that now know how Audacity increase volume of the audio files after reading this article.
A Comprehensive Walkthrough to Pioneering Sound Recording on Chrome OS (Chromebook)
The tech world started with huge computers. After a while, those computers were transformed into classy and handy laptops. Then, jumped in the market the different Operating Systems. Later, the tech experts planned to merge computers and laptops into mobile phones and a lot more. You might wonder that there is enough technology advancement, but the tech experts always consider it less, and they work for more.
While the world is playing favorites between Windows and macOS, little, they know that there is another bomb OS in the market. It’s the Chrome OS. The chromebook is the newest type of computer designed to function things much faster and easier. Its OS has cloud storage, and it consists of multiple layers of security. Stay with us if you want to learn more about it, especially chrome audio capture .
Part 1. How Can You Record Audio on Chromebook? 7 Useful Tips
The very basic need to design a new computer with Chrome OS was to tackle the issue of speed. By using Chromebook, users can perform tasks easily and faster than before. Not just that but Chromebook has layers of security to protect your sensitive data.
As many people are new to Chromebook and Chrome OS, the following section of this article will merely focus on sharing useful tips regarding how to screen record on Chromebook with audio. So, without any further delay, let’s get started.
1. DemoAir
The very first audio recorder that could be used to record audio on Chromebook is DemoAir. With DemoAir, you can also create and share audios. The recording tool is online and is free. You can simply add its extension to Chrome.

While recording using DemoAir, it also allows to capture both the sounds simultaneously that include both system audio as well as microphone voice. The audio can also be trimmed with DemoAir. The best part about DemoAir is that all the audios are spontaneously saved to Google Drive.
Let us enlighten you with the amazing features that DemoAir Screen Recorder offers:
- The recording tool also lets you download and share the audio to different platforms.
- DemoAir has integration with many other workflow platforms like Google Classroom, Github, Jira, Asana, Trello, and Slack.
- With DemoAir, it’s easy to manage all the audio recordings as it lets you engage the recording videos with folders.
2. Screencastify
For screen recording on Chromebook and Chrome audio capture, Screencastify is the easiest tool to either capture your entire desktop or a single screen. The audio recordings are saved in Google Drive as WebM or VP8. You can say goodbye to other bulky software because of this easy and simple online tool, Screencastify.

This audio screen recorder is the most popular tool among teachers and students, especially during pandemic times. It is best suggested that individuals and business professionals use this online tool instead of using heavy and complex software. Given below are the features of Screencastify that will impress and attract you.
- With this tool, you can share your audios and record them within seconds, like ‘Share in a Flash.’
- Screencastify guarantees to protect your content. Only you can decide who gets access to your audios by configuring the Share Settings.
- Using Screencastify, you can add questions to the screen. This way, you can interact with them as well as check their understanding.
3. Apowersoft Free Online Audio Recorder
Apowersoft doesn’t even need any kind of introduction as it is a very famous software publisher. They make all kinds of tools and programs that help and serve us at multiple levels in our life. One of its tools is an online audio recorder .

Whenever you plan to record your audio in high quality, always consider recording with Apowersoft Audio Recorder because it promises to deliver high-quality audio recordings. This is the best-suggested tool to record audio on Chromebook. Allow us to shed light on its unmatchable features.
- It offers a wide range of formats for your output file, for example, MP3, WMA, FLAC, WAV, M4A, and OGG.
- Apowersoft Audio Recorder offers you a temporary online library to save and store your recordings.
- Using the Apowersoft Audio Recorder, ID3 tags could also be added for your audio description.
4. Vocaroo
A very essential and helpful Chrome audio recorder is Vocaroo. The online tool allows its users to record, share and even download voice messages. The tool could be used on any device, including your computers and mobile phones. Vocaroo uses Adobe flash to record audio.

By using Vocaroo, you can easily record audio on Chromebook. Also, it allows you to upload audio. The web-based tool has very impressive features that will instantly wow you. So, let us talk about its features now.
- The best thing about Vocaroo is that the tool is compatible with your computers and your smartphones.
- Vocaroo audio recorder comes with an embed widget for web developers.
- The online and easy-to-use tool supports various file formats like MP3, WAV, OGG, FLAC, M4A, AIFF, MP2, and many others.
5. Online Voice Recorder from 123 Apps
Another tool that could be used to record audio on Chromebook is the Online Voice Recorder from 123 Apps. The audio recorder is free to use, simple and basic to understand. Plus, it guarantees its users to protect their information and their content.

Once the recording on your Chromebook is complete, you can manage and save the video file as MP3. With this Online Voice Recorder, you can also record things from Webcam. There are many brilliant features of this tool; let us discuss a few here.
- The best feature of this voice recorder is its automatic silence trimming. If the tool detects any silent portion at the beginning or the ending, it automatically trims it.
- You can change your microphone setting with the standard Adobe Flash Tool to adjust them.
- Online Voice Recorder has a very strong privacy policy. Only you can access the files. None of your data is stored on the tools server.
6. Rev Online Voice Recorder
Another online voice recorder that could be used in case you want Chrome audio capture is Rev Online Voice Recorder. This voice recorder is very convenient to use. It has very basic and simple steps that you need to follow to record audio on Chromebook.

Rev voice recorder commits to giving high-quality recordings to its users. The recorder has a quick transcription service with just a single click. Now, let’s talk about a few of its features.
- As soon as the recording finishes, you can download the file in MP3 format.
- Rev Voice Recorder is a trusted tool. It does not upload any of your recordings to its servers. Thus, it is highly secure and completely encrypted.
- The tool is free to use. Even the download of your recordings is 100% free of cost.
7. Veed
Lastly, let us talk about Veed, Voice Recorder . The online and easiest tool to record all your audio activities. This tool is amazing to use for Chrome audio capture. The online recorder works on both Windows and Mac.

The tool does not require any plugin, and software download is also not needed. You can record both, system sound and microphone with Veed recorder. Let’s talk a little more about Veed, and let us share its features with you.
- The tool is all in one. As soon as your recording ends, you can remove your audio background noise by using a single click.
- Veed has a feature of Auto Transcribe that will help you generate the Subtitles of your recording within a matter of seconds.
- The recording tool is very simple to use. Its easy-to-understand interface will guide you on every step.
Final Words
If you are worried about a Chrome audio recorder, then this article must help you. 7 various tips have been shared with you. All the discussed tips and tools are very strong and powerful in the recording world. The tools and their attractive features are also discussed to increase your knowledge.
For screen recording on Chromebook and Chrome audio capture, Screencastify is the easiest tool to either capture your entire desktop or a single screen. The audio recordings are saved in Google Drive as WebM or VP8. You can say goodbye to other bulky software because of this easy and simple online tool, Screencastify.
This audio screen recorder is the most popular tool among teachers and students, especially during pandemic times. It is best suggested that individuals and business professionals use this online tool instead of using heavy and complex software. Given below are the features of Screencastify that will impress and attract you.
- With this tool, you can share your audios and record them within seconds, like ‘Share in a Flash.’
- Screencastify guarantees to protect your content. Only you can decide who gets access to your audios by configuring the Share Settings.
- Using Screencastify, you can add questions to the screen. This way, you can interact with them as well as check their understanding.
3. Apowersoft Free Online Audio Recorder
Apowersoft doesn’t even need any kind of introduction as it is a very famous software publisher. They make all kinds of tools and programs that help and serve us at multiple levels in our life. One of its tools is an online audio recorder .
Whenever you plan to record your audio in high quality, always consider recording with Apowersoft Audio Recorder because it promises to deliver high-quality audio recordings. This is the best-suggested tool to record audio on Chromebook. Allow us to shed light on its unmatchable features.
- It offers a wide range of formats for your output file, for example, MP3, WMA, FLAC, WAV, M4A, and OGG.
- Apowersoft Audio Recorder offers you a temporary online library to save and store your recordings.
- Using the Apowersoft Audio Recorder, ID3 tags could also be added for your audio description.
4. Vocaroo
A very essential and helpful Chrome audio recorder is Vocaroo. The online tool allows its users to record, share and even download voice messages. The tool could be used on any device, including your computers and mobile phones. Vocaroo uses Adobe flash to record audio.
By using Vocaroo, you can easily record audio on Chromebook. Also, it allows you to upload audio. The web-based tool has very impressive features that will instantly wow you. So, let us talk about its features now.
- The best thing about Vocaroo is that the tool is compatible with your computers and your smartphones.
- Vocaroo audio recorder comes with an embed widget for web developers.
- The online and easy-to-use tool supports various file formats like MP3, WAV, OGG, FLAC, M4A, AIFF, MP2, and many others.
5. Online Voice Recorder from 123 Apps
Another tool that could be used to record audio on Chromebook is the Online Voice Recorder from 123 Apps. The audio recorder is free to use, simple and basic to understand. Plus, it guarantees its users to protect their information and their content.
Once the recording on your Chromebook is complete, you can manage and save the video file as MP3. With this Online Voice Recorder, you can also record things from Webcam. There are many brilliant features of this tool; let us discuss a few here.
- The best feature of this voice recorder is its automatic silence trimming. If the tool detects any silent portion at the beginning or the ending, it automatically trims it.
- You can change your microphone setting with the standard Adobe Flash Tool to adjust them.
- Online Voice Recorder has a very strong privacy policy. Only you can access the files. None of your data is stored on the tools server.
6. Rev Online Voice Recorder
Another online voice recorder that could be used in case you want Chrome audio capture is Rev Online Voice Recorder. This voice recorder is very convenient to use. It has very basic and simple steps that you need to follow to record audio on Chromebook.
Rev voice recorder commits to giving high-quality recordings to its users. The recorder has a quick transcription service with just a single click. Now, let’s talk about a few of its features.
- As soon as the recording finishes, you can download the file in MP3 format.
- Rev Voice Recorder is a trusted tool. It does not upload any of your recordings to its servers. Thus, it is highly secure and completely encrypted.
- The tool is free to use. Even the download of your recordings is 100% free of cost.
7. Veed
Lastly, let us talk about Veed, Voice Recorder . The online and easiest tool to record all your audio activities. This tool is amazing to use for Chrome audio capture. The online recorder works on both Windows and Mac.
The tool does not require any plugin, and software download is also not needed. You can record both, system sound and microphone with Veed recorder. Let’s talk a little more about Veed, and let us share its features with you.
- The tool is all in one. As soon as your recording ends, you can remove your audio background noise by using a single click.
- Veed has a feature of Auto Transcribe that will help you generate the Subtitles of your recording within a matter of seconds.
- The recording tool is very simple to use. Its easy-to-understand interface will guide you on every step.
Final Words
If you are worried about a Chrome audio recorder, then this article must help you. 7 various tips have been shared with you. All the discussed tips and tools are very strong and powerful in the recording world. The tools and their attractive features are also discussed to increase your knowledge.
“Free and Open Source Audio Conversion Software: Top Picks “
10+ Free Online Audio to Text Converters

Shanoon Cox
Mar 27, 2024• Proven solutions
An audio-to-text converter is a tool that can convert audio files to texts or even record any audio and produce the text of it simultaneously. Audio files are one of the most used methods of storing information. From online classes and long lectures to big business meetings and product information, audio is being shared a lot across the world.
But accessing information from a long audio file can be difficult and time-consuming, which is why there is a need to convert audio to text. Information in the form of text can easily be fully or partly accessed and edited whenever needed. And texts can also easily be shared with whomever you want.
So let’s have a look at some of the best audio-to-text converters that might be of use to you.


10+ Free Online Audio to Text Converters
There is number of audio text converters available in the online market that can help you while studying, researching, or even in your business. Some of these recorders can convert any audio file to texts while some others can record and convert to text at the same time. Here we will talk about the top 11 free applications that can be used to convert audio to text.
| 1 - Filmora | 2 - Audext | 3 - Sonix.ai |
|---|---|---|
| 4 - Virtualspeech.com | 5 - Speechnotes | 6 - SpeechTexter |
| 7 - Textfromtospeech.com | 8 - Dictation.io | 9 - Voice Note |
| 10 - Voice Notebook | 11 - NaturalReaders |
1. Wondershare Filmora
Filmora’s Speech To Text (STT) function allows you to transcript audio/voice to subtitles/text in one click. it can save your plenty of time on transcribing subtitles and boost your editing efficiency by applying speech-to-text.
What you need to do is download the software and subsribe for its plan.
Features
- Built-in function to transcribe subtitles and captions for your video
- High accuracy in generating text, allows you to edit text by yourself
- Supports up to 26 languages of transcription to engage more users all around the world
- Offers various tools for editing your videos and audio
2. Audext
Audext is a free online application that can help you to save a lot of time while transcribing any audio to text. The transcription to text is done with the use of an advanced AI and hence produces faster and more accurate results.
Audext is used by people from different sectors like education, marketing, media, consulting, healthcare, etc. for their work purposes.

Features
- An inbuilt editor for editing the text while transcribing
- Identifies the speaker easily
- Supports a variety of audio and video formats like MP3, WAV, MP4, etc.
- Offers an option of easy upload and export of files
Pricing
- Free
- Transcription costs for one hour are $12
- Or with the subscription $5
3. Sonix.ai
Sonix is a fast and accurate application that can be used to convert audio to text for any purpose. This application offers a 30-minute free transcription after which an affordable amount may be charged.
Features
- Automatic transcription of files and accessibility of these files from any device
- Advanced translation of these devices into 30 different languages
- Addition of subtitles into any video for easy understanding
- A Sonix media player that allows to share and publish files easily
Pricing
- Free
- Standard subscription - $10 per hour
- Premium subscription - $5 per hour, and an addition of $22 per month
4. Virtualspeech.com
Virtualspeech is an online tool that can transcribe audio to text free. It is a very simple application that allows fats conversion of audio files to texts. After conversion, the file will be emailed to the user from where it can be downloaded and saved.
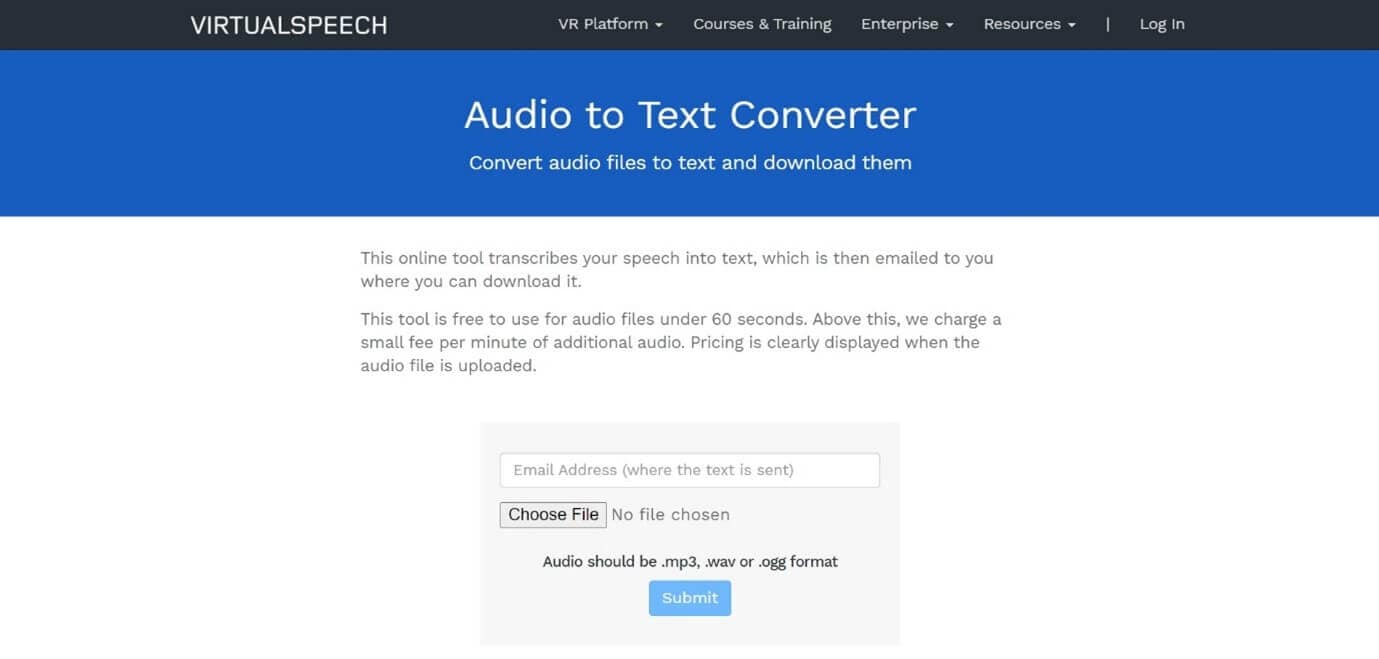
Features
- Free conversion of any audio files under 1 minute.
- Conversion of audio files of formats Mp3, Wav, or Ogg.
- Provides security as the no files are stored on the server and the site is secured with a b SSL
- Speech to text converter within the site
Pricing
- $0.50 per minute after the free minute

Filmora Audio to Text Converter
Filmora - Audio to Text Converter
• Enables you to convert video speech to text in one click
• Extremely accurate in video speech recognition
• Cross-platform supported - (Windows, Mac, iOS, Android)
Transcribe Audio to Text Free Transcribe Audio to Text Free Transcribe Audio to Text Free Learn More >
5. Speechnotes
Speechnotes is a powerful online notepad that can easily convert audio to text. This tool has implemented an efficient and clean design that makes conversion and editing very easy.
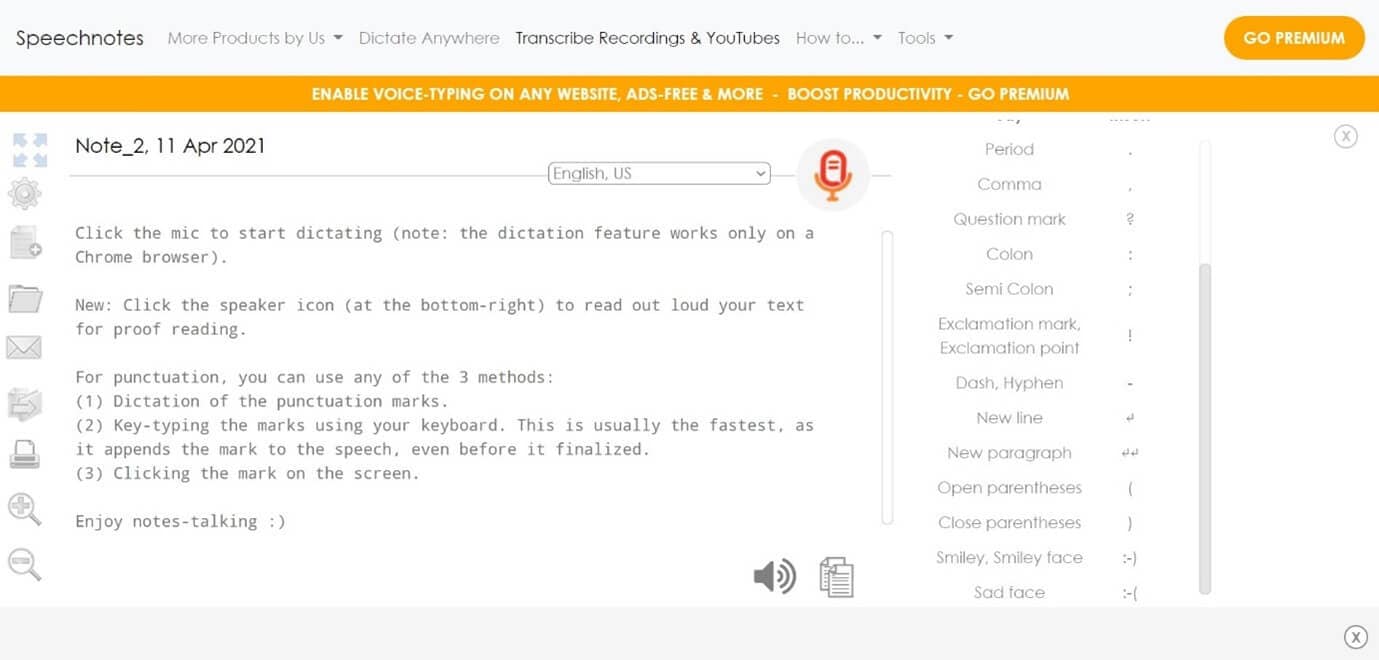
Features
- Best results with an advanced speech recognition technology
- Built-in tools that allow easy editing and correction of the converted text
- Fast working on any web browser and no installation apps required
- Autosave feature that ensures that your data is not lost
- Export to Google Drive option for easy accessibility from any device
Pricing
- Free
- Premium version with the addition of some extra features
6. SpeechTexter
SpeechTexter is a multilingual application that can help you transcribe any type of book, document, blog posts, etc. by using your audio. This tool has a custom dictionary that allows adding short commands for adding frequently used data like phone numbers, punctuation marks, addresses, etc.
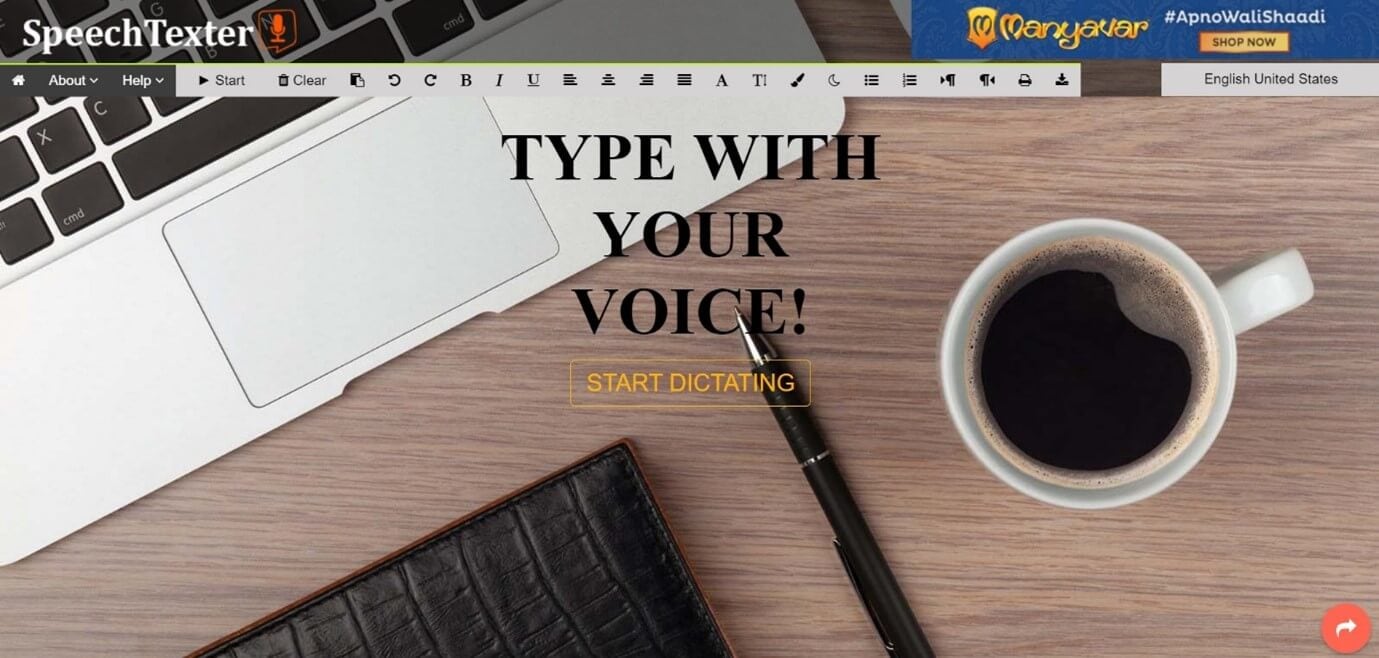
Features
- Offers accuracy rate of 90 to 95% percent
- Can be used to increase your fluency in English
- Offers powerful real-time speech recognition
- Easy creation of emails, text notes, blog posts, etc.
- A custom dictionary that can be customized according to the individual use
- Supports more than 60 languages
- Available on both chrome browser and android
Pricing
- Free
7. Textfromtospeech.com
Textfromtospeech is a free online tool that allows you to easily convert audio to text without the need for registration downloading or installation. It has a very simple interface that can record and convert your speech into text with a single click.
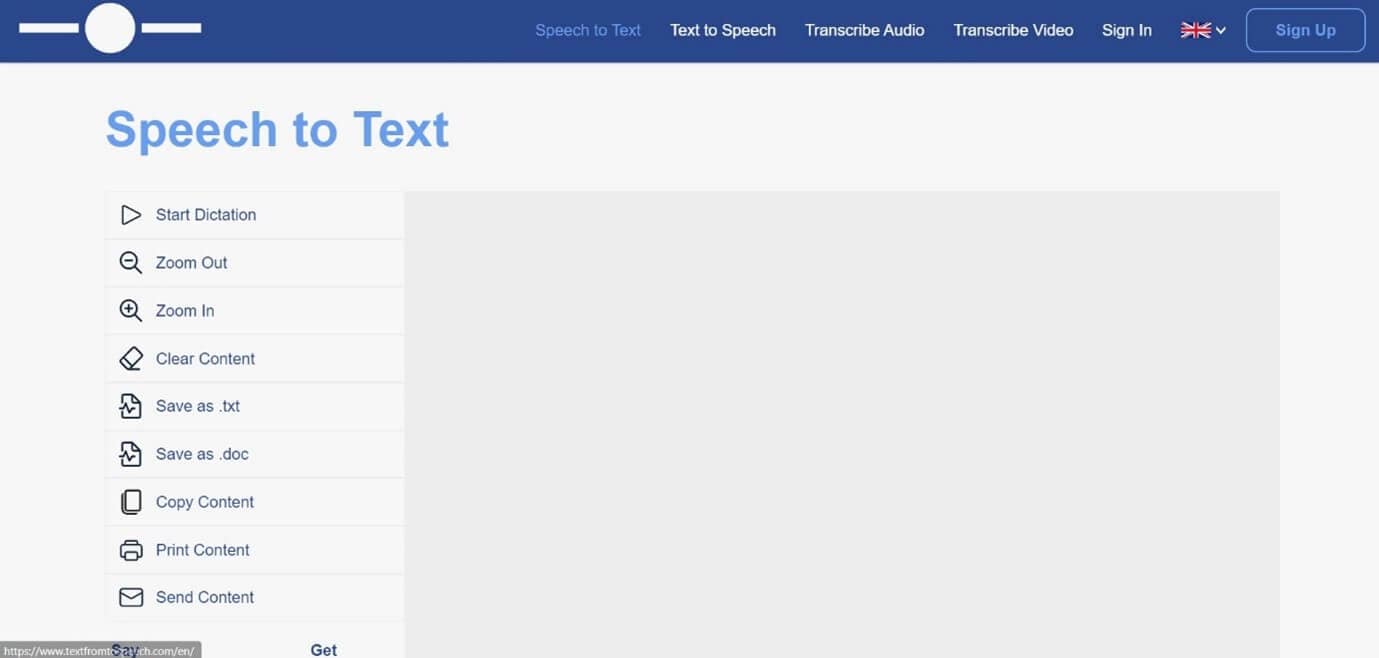
Features
- Free and online text recognition and transcription
- Supports many languages
- Pause and record option while converting large files
- Can use voice commands for insertion of symbols like “comma”, “full stop”, etc.
- Smart capitalization
- Easy saving, copying, and sharing of the dictated text
- Available on mobile devices, tablet, and computer
Pricing
- Free
![]()
A cross-platform for making videos anywhere for all creators

Why your video editing isn’t good enough? How about some creative inspo?
- 100 Million+ Users
- 150+ Countries and Regions
- 4 Million+ Social Media Followers
- 5 Million+ Stock Media for Use
* Secure Download

8. Dictation.io
Dictation is a free and simple tool that offers fast conversion of audio to text. Its interface is like that of a very simple notepad and allows the conversion of audio to text for a number of languages including English, Español, Français, Italiano, Português, and more.

Features
- Advanced speech recognition
- Easy editing within the notes
- Easy sharing to mail, tweets, etc.
- No storing of any data and hence offers the necessary security
Pricing
- Free
9. Voice Note
Voice Note is an online speech recognition tool that can automatically record and type anything including speech, interview, etc. This tool can convert any audio file into text format which can easily be opened in Microsoft Word.
Features
- No saving of data in any servers
- Customizable options for audio and text
- A number of languages to choose from while converting audio to text
- Easy copying and exporting options
- Direct Print option from the site
Price
- Free
10. Voice Notebook
Voice Notebook is a speech recognition app that can also convert audio files to text. This application is compatible with a wide range of devices like Mac, Windows, Linux OS, Android, and iOS.
Features
- Voice commands are available when you transcribe audio to text
- Has the ability to recognize any speech embedded in YouTube clips or HTML5 audio or video
- Simple interface and easy editing of text
- An option to download into TXT format is available
Price
- Free
11. NaturalReaders
Natural Readers is a professional program that can convert any text into spoken words. This program offers a lot of features like adjusting the speed of audio, conversion into mp3, selection of voice, etc.
Features
- A font option available for dyslexic people
- Supports formats like pdf, txt, docs, epub, ods, ppt, png, jpeg
- App versions of this online tool are available both for android and apple devices
Pricing
- Free
- Premium plan - $9.99 per month, $59.88 per year
- Plus plan - $19.00 per month, $110.00 per year
Filmora Audio to Text Converter
Filmora - Audio to Text Converter
• Enables you to convert video speech to text in one click
• Extremely accurate in video speech recognition
• Cross-platform supported - (Windows, Mac, iOS, Android)
Transcribe Audio to Text Free Transcribe Audio to Text Free Transcribe Audio to Text Free Learn More >
Conclusion
We have listed above the top 11 tools that can be used to convert audio to text on any device using a browser. Converting audio to text allows you to easily access the required information, edit it, or even share it fully or partially with anyone you wish,
The applications we have listed are free and some of them might charge for the extra features they provide. So no matter what your profession is if you are looking for an app to convert audio to text or record and produce the text of the recordings, choose any one of the listed above applications.
We hope our suggestions help you reduce effort and save time. Please leave your valuable feedback in the comment box below, thank you.
Transform Long Videos into Short Ones Instantly
Turn long videos into viral clips. Effortlessly transform lengthy videos into engaging, shareable clips.

Shanoon Cox
Shanoon Cox is a writer and a lover of all things video.
Follow @Shanoon Cox
Shanoon Cox
Mar 27, 2024• Proven solutions
An audio-to-text converter is a tool that can convert audio files to texts or even record any audio and produce the text of it simultaneously. Audio files are one of the most used methods of storing information. From online classes and long lectures to big business meetings and product information, audio is being shared a lot across the world.
But accessing information from a long audio file can be difficult and time-consuming, which is why there is a need to convert audio to text. Information in the form of text can easily be fully or partly accessed and edited whenever needed. And texts can also easily be shared with whomever you want.
So let’s have a look at some of the best audio-to-text converters that might be of use to you.
10+ Free Online Audio to Text Converters
There is number of audio text converters available in the online market that can help you while studying, researching, or even in your business. Some of these recorders can convert any audio file to texts while some others can record and convert to text at the same time. Here we will talk about the top 11 free applications that can be used to convert audio to text.
| 1 - Filmora | 2 - Audext | 3 - Sonix.ai |
|---|---|---|
| 4 - Virtualspeech.com | 5 - Speechnotes | 6 - SpeechTexter |
| 7 - Textfromtospeech.com | 8 - Dictation.io | 9 - Voice Note |
| 10 - Voice Notebook | 11 - NaturalReaders |
1. Wondershare Filmora
Filmora’s Speech To Text (STT) function allows you to transcript audio/voice to subtitles/text in one click. it can save your plenty of time on transcribing subtitles and boost your editing efficiency by applying speech-to-text.
What you need to do is download the software and subsribe for its plan.
Features
- Built-in function to transcribe subtitles and captions for your video
- High accuracy in generating text, allows you to edit text by yourself
- Supports up to 26 languages of transcription to engage more users all around the world
- Offers various tools for editing your videos and audio
2. Audext
Audext is a free online application that can help you to save a lot of time while transcribing any audio to text. The transcription to text is done with the use of an advanced AI and hence produces faster and more accurate results.
Audext is used by people from different sectors like education, marketing, media, consulting, healthcare, etc. for their work purposes.
Features
- An inbuilt editor for editing the text while transcribing
- Identifies the speaker easily
- Supports a variety of audio and video formats like MP3, WAV, MP4, etc.
- Offers an option of easy upload and export of files
Pricing
- Free
- Transcription costs for one hour are $12
- Or with the subscription $5
3. Sonix.ai
Sonix is a fast and accurate application that can be used to convert audio to text for any purpose. This application offers a 30-minute free transcription after which an affordable amount may be charged.
Features
- Automatic transcription of files and accessibility of these files from any device
- Advanced translation of these devices into 30 different languages
- Addition of subtitles into any video for easy understanding
- A Sonix media player that allows to share and publish files easily
Pricing
- Free
- Standard subscription - $10 per hour
- Premium subscription - $5 per hour, and an addition of $22 per month
4. Virtualspeech.com
Virtualspeech is an online tool that can transcribe audio to text free. It is a very simple application that allows fats conversion of audio files to texts. After conversion, the file will be emailed to the user from where it can be downloaded and saved.
Features
- Free conversion of any audio files under 1 minute.
- Conversion of audio files of formats Mp3, Wav, or Ogg.
- Provides security as the no files are stored on the server and the site is secured with a b SSL
- Speech to text converter within the site
Pricing
- $0.50 per minute after the free minute
Filmora Audio to Text Converter
Filmora - Audio to Text Converter
• Enables you to convert video speech to text in one click
• Extremely accurate in video speech recognition
• Cross-platform supported - (Windows, Mac, iOS, Android)
Transcribe Audio to Text Free Transcribe Audio to Text Free Transcribe Audio to Text Free Learn More >
5. Speechnotes
Speechnotes is a powerful online notepad that can easily convert audio to text. This tool has implemented an efficient and clean design that makes conversion and editing very easy.
Features
- Best results with an advanced speech recognition technology
- Built-in tools that allow easy editing and correction of the converted text
- Fast working on any web browser and no installation apps required
- Autosave feature that ensures that your data is not lost
- Export to Google Drive option for easy accessibility from any device
Pricing
- Free
- Premium version with the addition of some extra features
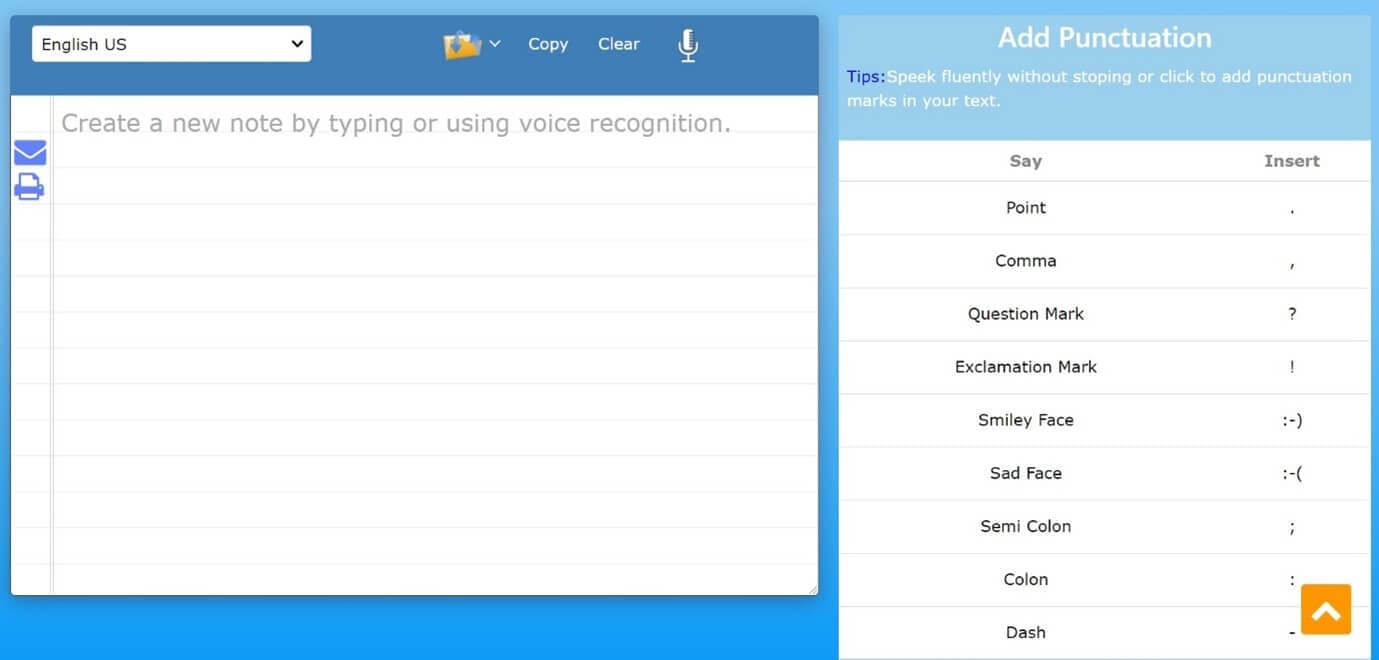
6. SpeechTexter
SpeechTexter is a multilingual application that can help you transcribe any type of book, document, blog posts, etc. by using your audio. This tool has a custom dictionary that allows adding short commands for adding frequently used data like phone numbers, punctuation marks, addresses, etc.
Features
- Offers accuracy rate of 90 to 95% percent
- Can be used to increase your fluency in English
- Offers powerful real-time speech recognition
- Easy creation of emails, text notes, blog posts, etc.
- A custom dictionary that can be customized according to the individual use
- Supports more than 60 languages
- Available on both chrome browser and android
Pricing
- Free
7. Textfromtospeech.com
Textfromtospeech is a free online tool that allows you to easily convert audio to text without the need for registration downloading or installation. It has a very simple interface that can record and convert your speech into text with a single click.
Features
- Free and online text recognition and transcription
- Supports many languages
- Pause and record option while converting large files
- Can use voice commands for insertion of symbols like “comma”, “full stop”, etc.
- Smart capitalization
- Easy saving, copying, and sharing of the dictated text
- Available on mobile devices, tablet, and computer
Pricing
- Free
![]()
A cross-platform for making videos anywhere for all creators
Why your video editing isn’t good enough? How about some creative inspo?
- 100 Million+ Users
- 150+ Countries and Regions
- 4 Million+ Social Media Followers
- 5 Million+ Stock Media for Use
* Secure Download
8. Dictation.io
Dictation is a free and simple tool that offers fast conversion of audio to text. Its interface is like that of a very simple notepad and allows the conversion of audio to text for a number of languages including English, Español, Français, Italiano, Português, and more.
Features
- Advanced speech recognition
- Easy editing within the notes
- Easy sharing to mail, tweets, etc.
- No storing of any data and hence offers the necessary security
Pricing
- Free
9. Voice Note
Voice Note is an online speech recognition tool that can automatically record and type anything including speech, interview, etc. This tool can convert any audio file into text format which can easily be opened in Microsoft Word.
Features
- No saving of data in any servers
- Customizable options for audio and text
- A number of languages to choose from while converting audio to text
- Easy copying and exporting options
- Direct Print option from the site
Price
- Free
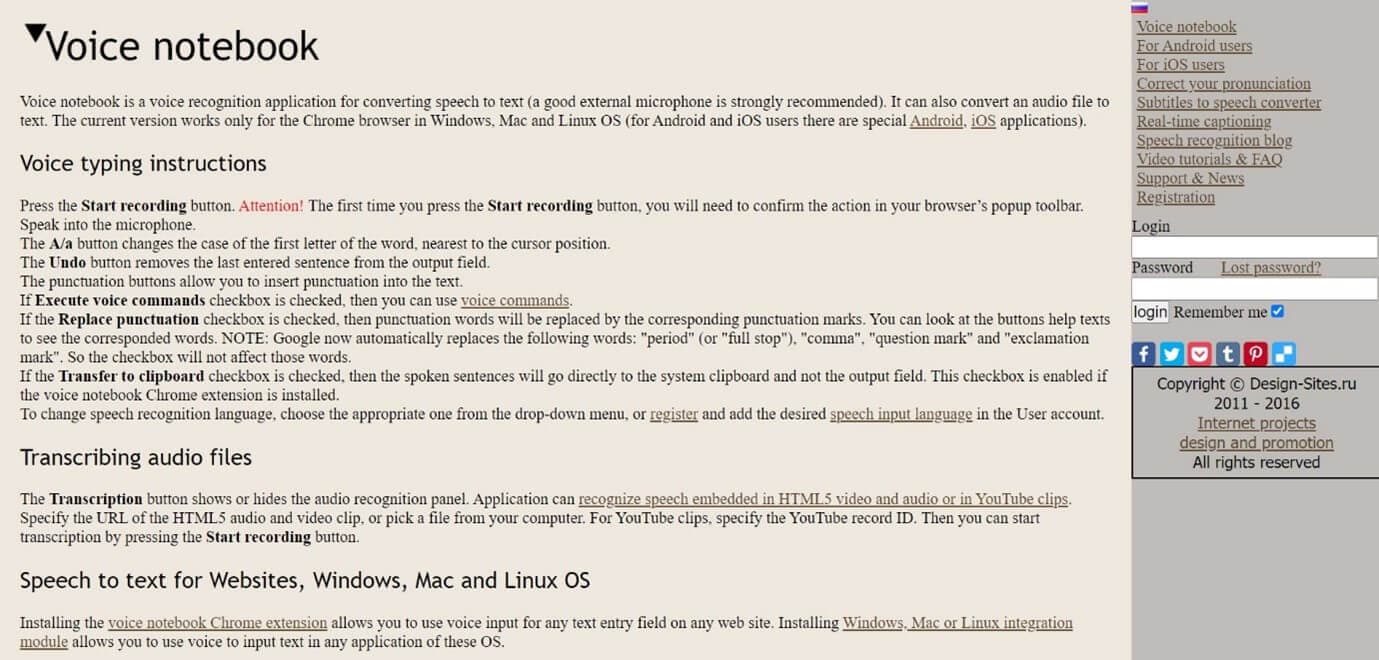
10. Voice Notebook
Voice Notebook is a speech recognition app that can also convert audio files to text. This application is compatible with a wide range of devices like Mac, Windows, Linux OS, Android, and iOS.
Features
- Voice commands are available when you transcribe audio to text
- Has the ability to recognize any speech embedded in YouTube clips or HTML5 audio or video
- Simple interface and easy editing of text
- An option to download into TXT format is available
Price
- Free
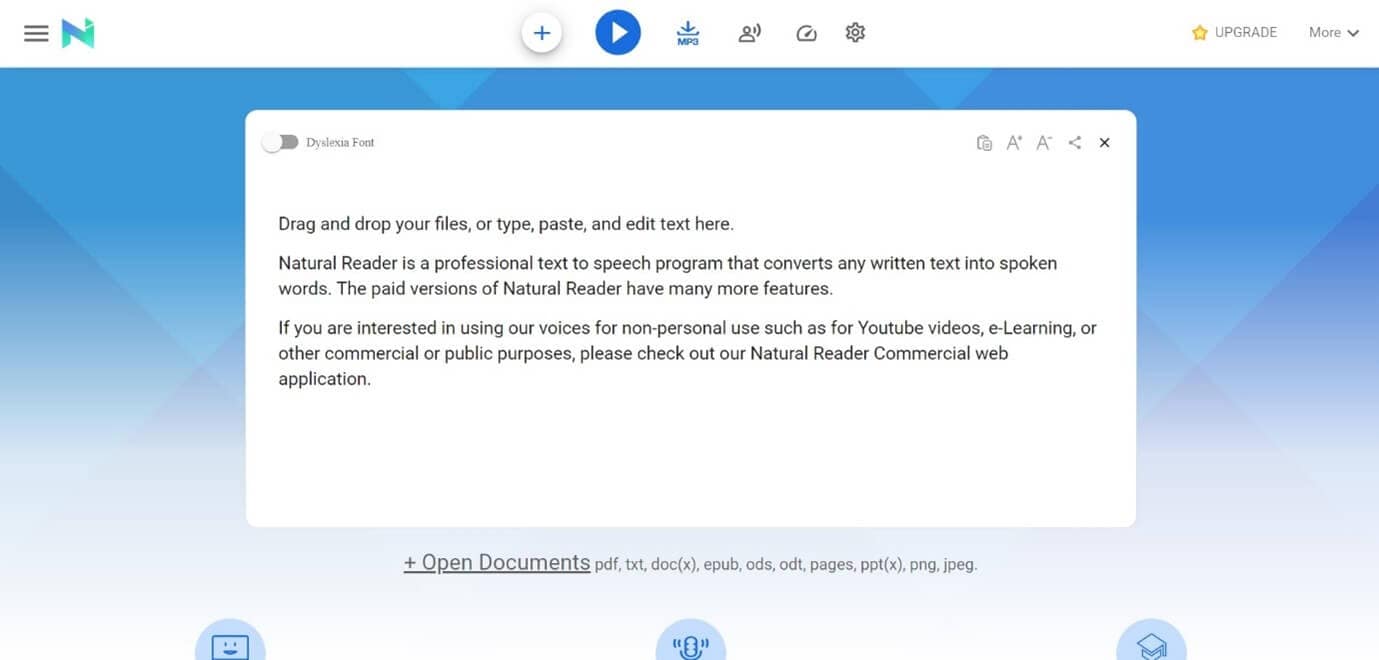
11. NaturalReaders
Natural Readers is a professional program that can convert any text into spoken words. This program offers a lot of features like adjusting the speed of audio, conversion into mp3, selection of voice, etc.
Features
- A font option available for dyslexic people
- Supports formats like pdf, txt, docs, epub, ods, ppt, png, jpeg
- App versions of this online tool are available both for android and apple devices
Pricing
- Free
- Premium plan - $9.99 per month, $59.88 per year
- Plus plan - $19.00 per month, $110.00 per year
Filmora Audio to Text Converter
Filmora - Audio to Text Converter
• Enables you to convert video speech to text in one click
• Extremely accurate in video speech recognition
• Cross-platform supported - (Windows, Mac, iOS, Android)
Transcribe Audio to Text Free Transcribe Audio to Text Free Transcribe Audio to Text Free Learn More >
Conclusion
We have listed above the top 11 tools that can be used to convert audio to text on any device using a browser. Converting audio to text allows you to easily access the required information, edit it, or even share it fully or partially with anyone you wish,
The applications we have listed are free and some of them might charge for the extra features they provide. So no matter what your profession is if you are looking for an app to convert audio to text or record and produce the text of the recordings, choose any one of the listed above applications.
We hope our suggestions help you reduce effort and save time. Please leave your valuable feedback in the comment box below, thank you.
Transform Long Videos into Short Ones Instantly
Turn long videos into viral clips. Effortlessly transform lengthy videos into engaging, shareable clips.
Shanoon Cox
Shanoon Cox is a writer and a lover of all things video.
Follow @Shanoon Cox
Shanoon Cox
Mar 27, 2024• Proven solutions
An audio-to-text converter is a tool that can convert audio files to texts or even record any audio and produce the text of it simultaneously. Audio files are one of the most used methods of storing information. From online classes and long lectures to big business meetings and product information, audio is being shared a lot across the world.
But accessing information from a long audio file can be difficult and time-consuming, which is why there is a need to convert audio to text. Information in the form of text can easily be fully or partly accessed and edited whenever needed. And texts can also easily be shared with whomever you want.
So let’s have a look at some of the best audio-to-text converters that might be of use to you.
10+ Free Online Audio to Text Converters
There is number of audio text converters available in the online market that can help you while studying, researching, or even in your business. Some of these recorders can convert any audio file to texts while some others can record and convert to text at the same time. Here we will talk about the top 11 free applications that can be used to convert audio to text.
| 1 - Filmora | 2 - Audext | 3 - Sonix.ai |
|---|---|---|
| 4 - Virtualspeech.com | 5 - Speechnotes | 6 - SpeechTexter |
| 7 - Textfromtospeech.com | 8 - Dictation.io | 9 - Voice Note |
| 10 - Voice Notebook | 11 - NaturalReaders |
1. Wondershare Filmora
Filmora’s Speech To Text (STT) function allows you to transcript audio/voice to subtitles/text in one click. it can save your plenty of time on transcribing subtitles and boost your editing efficiency by applying speech-to-text.
What you need to do is download the software and subsribe for its plan.
Features
- Built-in function to transcribe subtitles and captions for your video
- High accuracy in generating text, allows you to edit text by yourself
- Supports up to 26 languages of transcription to engage more users all around the world
- Offers various tools for editing your videos and audio
2. Audext
Audext is a free online application that can help you to save a lot of time while transcribing any audio to text. The transcription to text is done with the use of an advanced AI and hence produces faster and more accurate results.
Audext is used by people from different sectors like education, marketing, media, consulting, healthcare, etc. for their work purposes.
Features
- An inbuilt editor for editing the text while transcribing
- Identifies the speaker easily
- Supports a variety of audio and video formats like MP3, WAV, MP4, etc.
- Offers an option of easy upload and export of files
Pricing
- Free
- Transcription costs for one hour are $12
- Or with the subscription $5
3. Sonix.ai
Sonix is a fast and accurate application that can be used to convert audio to text for any purpose. This application offers a 30-minute free transcription after which an affordable amount may be charged.
Features
- Automatic transcription of files and accessibility of these files from any device
- Advanced translation of these devices into 30 different languages
- Addition of subtitles into any video for easy understanding
- A Sonix media player that allows to share and publish files easily
Pricing
- Free
- Standard subscription - $10 per hour
- Premium subscription - $5 per hour, and an addition of $22 per month
4. Virtualspeech.com
Virtualspeech is an online tool that can transcribe audio to text free. It is a very simple application that allows fats conversion of audio files to texts. After conversion, the file will be emailed to the user from where it can be downloaded and saved.
Features
- Free conversion of any audio files under 1 minute.
- Conversion of audio files of formats Mp3, Wav, or Ogg.
- Provides security as the no files are stored on the server and the site is secured with a b SSL
- Speech to text converter within the site
Pricing
- $0.50 per minute after the free minute
Filmora Audio to Text Converter
Filmora - Audio to Text Converter
• Enables you to convert video speech to text in one click
• Extremely accurate in video speech recognition
• Cross-platform supported - (Windows, Mac, iOS, Android)
Transcribe Audio to Text Free Transcribe Audio to Text Free Transcribe Audio to Text Free Learn More >
5. Speechnotes
Speechnotes is a powerful online notepad that can easily convert audio to text. This tool has implemented an efficient and clean design that makes conversion and editing very easy.
Features
- Best results with an advanced speech recognition technology
- Built-in tools that allow easy editing and correction of the converted text
- Fast working on any web browser and no installation apps required
- Autosave feature that ensures that your data is not lost
- Export to Google Drive option for easy accessibility from any device
Pricing
- Free
- Premium version with the addition of some extra features
6. SpeechTexter
SpeechTexter is a multilingual application that can help you transcribe any type of book, document, blog posts, etc. by using your audio. This tool has a custom dictionary that allows adding short commands for adding frequently used data like phone numbers, punctuation marks, addresses, etc.
Features
- Offers accuracy rate of 90 to 95% percent
- Can be used to increase your fluency in English
- Offers powerful real-time speech recognition
- Easy creation of emails, text notes, blog posts, etc.
- A custom dictionary that can be customized according to the individual use
- Supports more than 60 languages
- Available on both chrome browser and android
Pricing
- Free
7. Textfromtospeech.com
Textfromtospeech is a free online tool that allows you to easily convert audio to text without the need for registration downloading or installation. It has a very simple interface that can record and convert your speech into text with a single click.
Features
- Free and online text recognition and transcription
- Supports many languages
- Pause and record option while converting large files
- Can use voice commands for insertion of symbols like “comma”, “full stop”, etc.
- Smart capitalization
- Easy saving, copying, and sharing of the dictated text
- Available on mobile devices, tablet, and computer
Pricing
- Free
![]()
A cross-platform for making videos anywhere for all creators
Why your video editing isn’t good enough? How about some creative inspo?
- 100 Million+ Users
- 150+ Countries and Regions
- 4 Million+ Social Media Followers
- 5 Million+ Stock Media for Use
* Secure Download
8. Dictation.io
Dictation is a free and simple tool that offers fast conversion of audio to text. Its interface is like that of a very simple notepad and allows the conversion of audio to text for a number of languages including English, Español, Français, Italiano, Português, and more.
Features
- Advanced speech recognition
- Easy editing within the notes
- Easy sharing to mail, tweets, etc.
- No storing of any data and hence offers the necessary security
Pricing
- Free
9. Voice Note
Voice Note is an online speech recognition tool that can automatically record and type anything including speech, interview, etc. This tool can convert any audio file into text format which can easily be opened in Microsoft Word.
Features
- No saving of data in any servers
- Customizable options for audio and text
- A number of languages to choose from while converting audio to text
- Easy copying and exporting options
- Direct Print option from the site
Price
- Free
10. Voice Notebook
Voice Notebook is a speech recognition app that can also convert audio files to text. This application is compatible with a wide range of devices like Mac, Windows, Linux OS, Android, and iOS.
Features
- Voice commands are available when you transcribe audio to text
- Has the ability to recognize any speech embedded in YouTube clips or HTML5 audio or video
- Simple interface and easy editing of text
- An option to download into TXT format is available
Price
- Free
11. NaturalReaders
Natural Readers is a professional program that can convert any text into spoken words. This program offers a lot of features like adjusting the speed of audio, conversion into mp3, selection of voice, etc.
Features
- A font option available for dyslexic people
- Supports formats like pdf, txt, docs, epub, ods, ppt, png, jpeg
- App versions of this online tool are available both for android and apple devices
Pricing
- Free
- Premium plan - $9.99 per month, $59.88 per year
- Plus plan - $19.00 per month, $110.00 per year
Filmora Audio to Text Converter
Filmora - Audio to Text Converter
• Enables you to convert video speech to text in one click
• Extremely accurate in video speech recognition
• Cross-platform supported - (Windows, Mac, iOS, Android)
Transcribe Audio to Text Free Transcribe Audio to Text Free Transcribe Audio to Text Free Learn More >
Conclusion
We have listed above the top 11 tools that can be used to convert audio to text on any device using a browser. Converting audio to text allows you to easily access the required information, edit it, or even share it fully or partially with anyone you wish,
The applications we have listed are free and some of them might charge for the extra features they provide. So no matter what your profession is if you are looking for an app to convert audio to text or record and produce the text of the recordings, choose any one of the listed above applications.
We hope our suggestions help you reduce effort and save time. Please leave your valuable feedback in the comment box below, thank you.
Transform Long Videos into Short Ones Instantly
Turn long videos into viral clips. Effortlessly transform lengthy videos into engaging, shareable clips.
Shanoon Cox
Shanoon Cox is a writer and a lover of all things video.
Follow @Shanoon Cox
Also read:
- Updated 2024 Approved Premier Techniques Streamlining Audio Panning and Volume Balancing
- New In 2024, IMovie Audio Editing Tips - Everything You Need to Know
- The Art of Concealing the Boundaries Between Sounds with Fades for 2024
- Premium Audio Transformation Tool Free MP3 Creation From MPA Files
- 2024 Approved Premiere Mac-Based Vehicle Sound Unifier
- In 2024, Crafting Emotionally Resonant Films Through the Use of Intense and Thrilling Musical Selections
- Updated Guitarists Picks The Ranked List of Cutting-Edge Recording Programs
- Updated Best 10 Sound Boosters for Android and iOS-Sound Booster App
- 2024 Approved 5 Best Free Open-Source Audio Editor for Windows
- New In 2024, Innovative and Poignant Soundscapes Paving the Path
- New Enhancing Project Focus Extracting Audio From Video in iMovie on Mac
- 2024 Approved Essential Online Hubs for Natural Environment Recordings
- Behind the Scenes Exploring Modern Technologies That Auto-Synchronize Audio to Video for 2024
- In 2024, Auditory Decline Trends in Adobe Rush Update 2023
- 2024 Approved Achieving Consistent Sound Levels with DaVinci Resolve
- Updated REAPER Essentials & Extras A Complete Rundown with Expert Commentary for 2024
- Updated How to Record Audio on Windows 10 5 Easy Steps for 2024
- Updated Essential Tips for Efficiently Gathering Podcast Files Onto Personal Computers
- New Innovating Your Impact Strategies for Changing Your Vocal Characteristics for 2024
- In 2024, Audacity to MP3 Conversion A Comprehensive Tutorial
- New 2024 Approved Crafting Cinematic Lyrics with Advanced AFX Templates
- Updated In 2024, Leading Audio-Modification Programs A Comprehensive Guide
- Professionals Guide to the Top Vocal Dampening Software for Musicians and Producers for 2024
- The Audio Wizards Handbook Navigating Complex Editing Tasks with Sony Vegas Pro
- Must-Have Music Selections for Peaceful Environmental Scenarios for 2024
- Key Findings The Top OGG File Converters
- New Say Goodbye to Windows Movie Maker 10 Free Video Editing Tools
- In 2024, Effective Ways To Fix Checkra1n Error 31 From Apple iPhone XS
- How to Simulate GPS Movement in AR games On Poco M6 5G? | Dr.fone
- In 2024, Planning to Use a Pokemon Go Joystick on Realme Narzo N53? | Dr.fone
- New 2024 Approved The Cream of the Crop Top Video Editing Software
- How to Mirror Your Infinix Smart 8 Screen to PC with Chromecast | Dr.fone
- S Top Picks Android Video Editor Apps Compatible with Chromebook
- The 6 Best SIM Unlock Services That Actually Work On Your Vivo V27e Device
- How to Rescue Lost Pictures from Xiaomi 14 Pro?
- In 2024, How To Delete iCloud Account Remove Your Apple ID Permanently From Apple iPhone 11
- The Most Effective Ways to Bypass iPhone 6s Activation Lock
- Updated In 2024, Streamline Video Editing Fast and Easy Ways to Trim Large Files on Mac
- In 2024, How to Change GPS Location on Apple iPhone 6 Easily & Safely | Dr.fone
- 2024 Approved Top 10 TEXT TO SPEECH VIDEO MAKERS
- What Is HDRI? Everything You Need to Know About HDRI
- Easy Guide How To Bypass Samsung Galaxy Z Flip 5 FRP Android 10/11/12/13
- Customize Your Videos Speed in Camtasia A Beginners Guide for 2024
- Updated Conversion Made Easy How to Pick the Best Video to Audio Converter for Your Needs
- Updated 2024 Approved Mastering the Ken Burns Effect A Step-by-Step Guide
- New Resize Your Video in Minutes A Step-by-Step Guide for 2024
- How to recover deleted photos from Android Gallery after format on A1x 5G
- Title: New Elevating and Dimming Audio in Audacity A Step-by-Step Approach for 2024
- Author: Jacob
- Created at : 2024-05-05 03:52:28
- Updated at : 2024-05-06 03:52:28
- Link: https://audio-shaping.techidaily.com/new-elevating-and-dimming-audio-in-audacity-a-step-by-step-approach-for-2024/
- License: This work is licensed under CC BY-NC-SA 4.0.
